From kit care to working in low light, pro wildlife photographer Sam Rowley shares his insights on getting the most from this challenging environment.
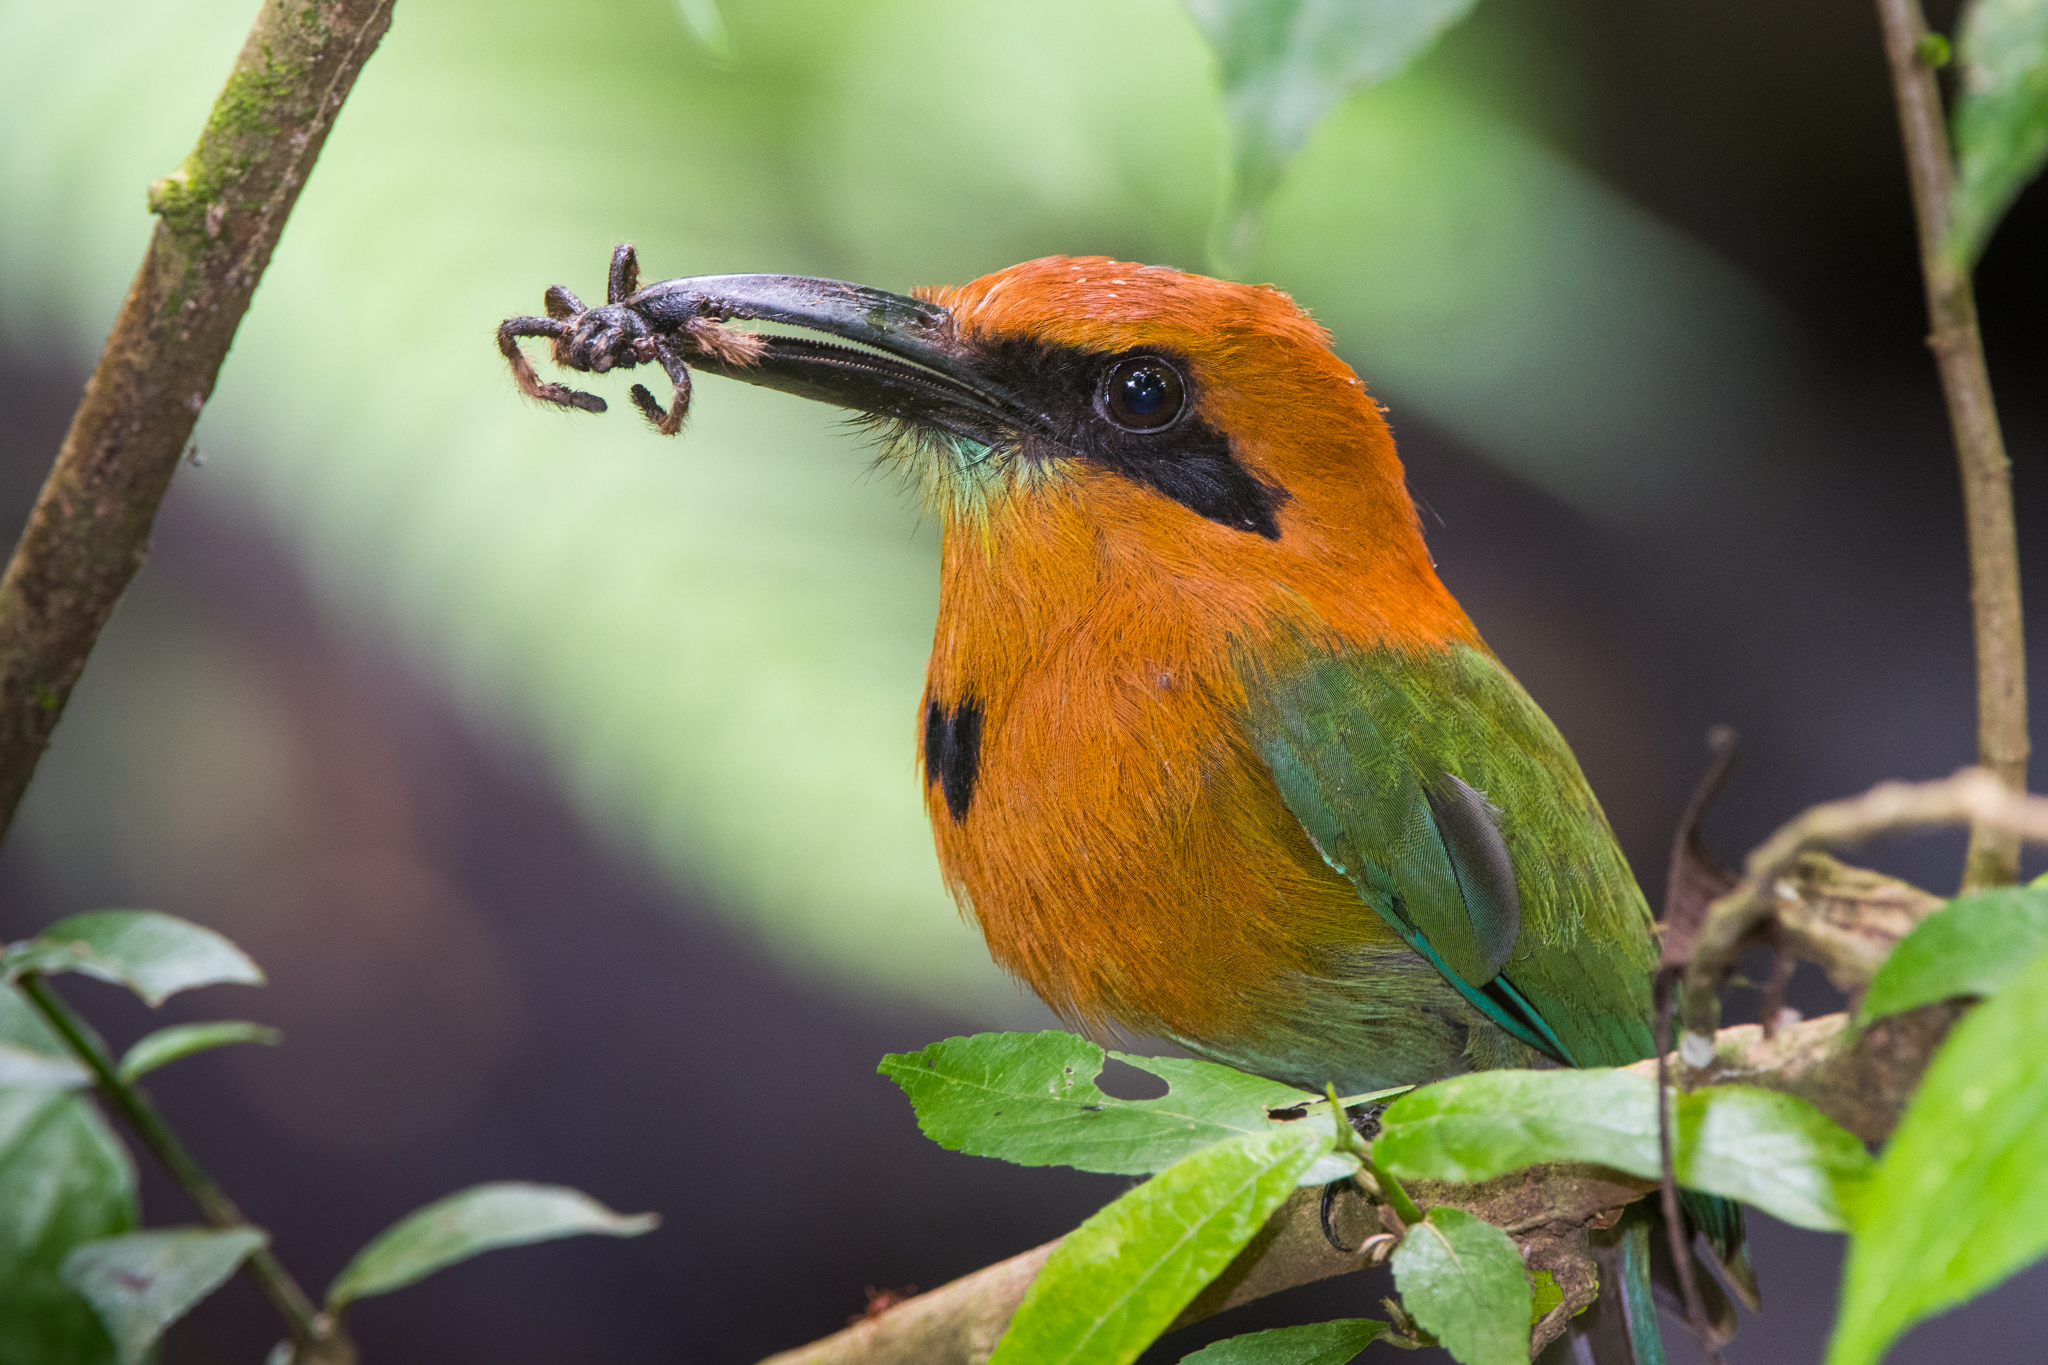
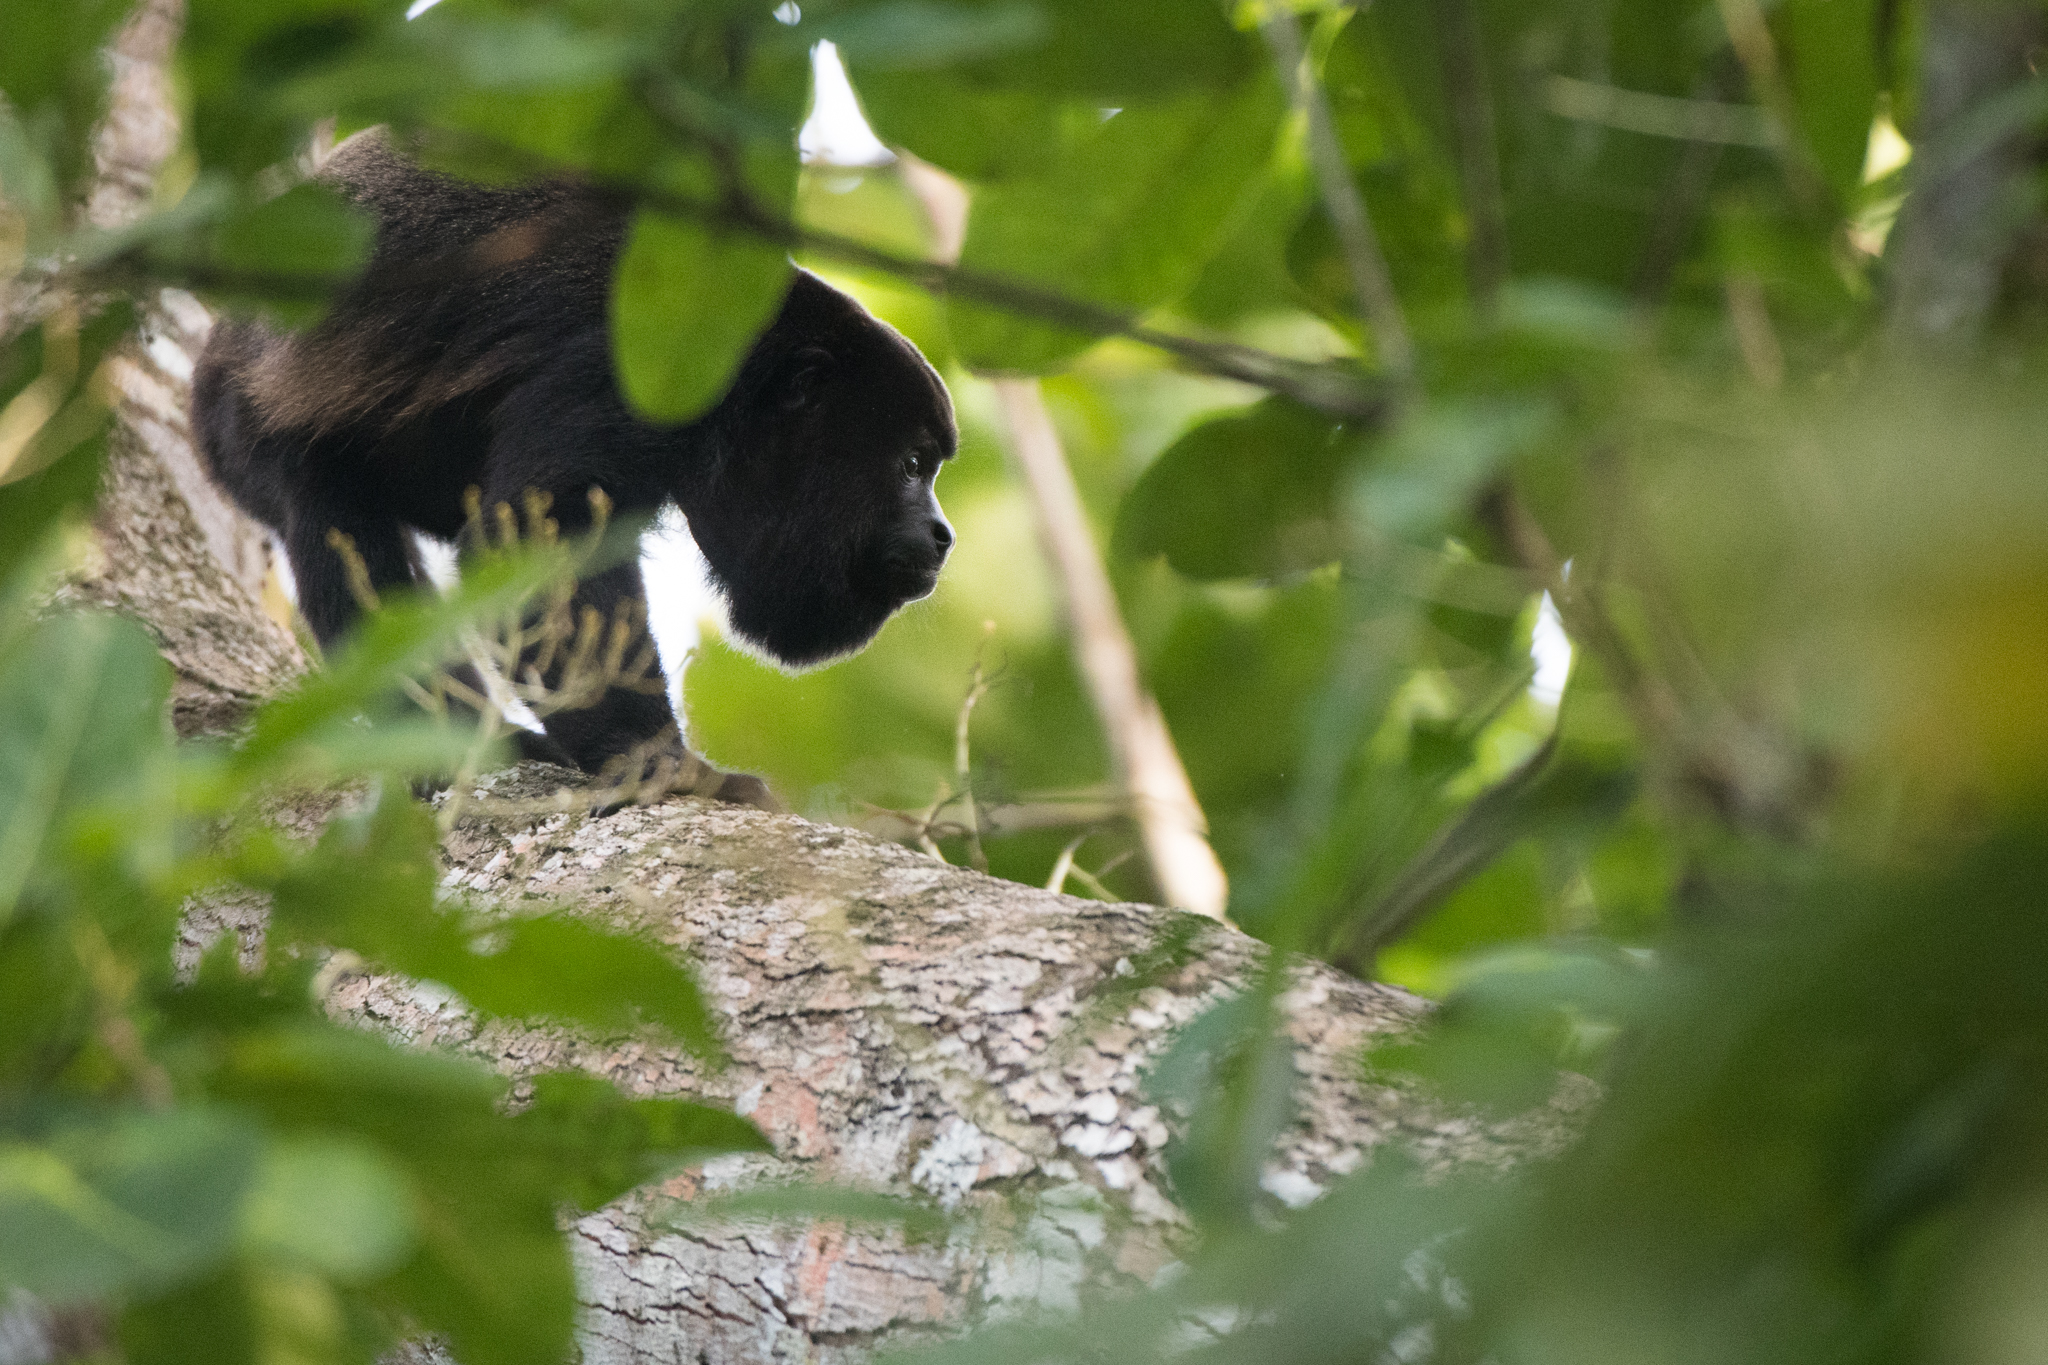
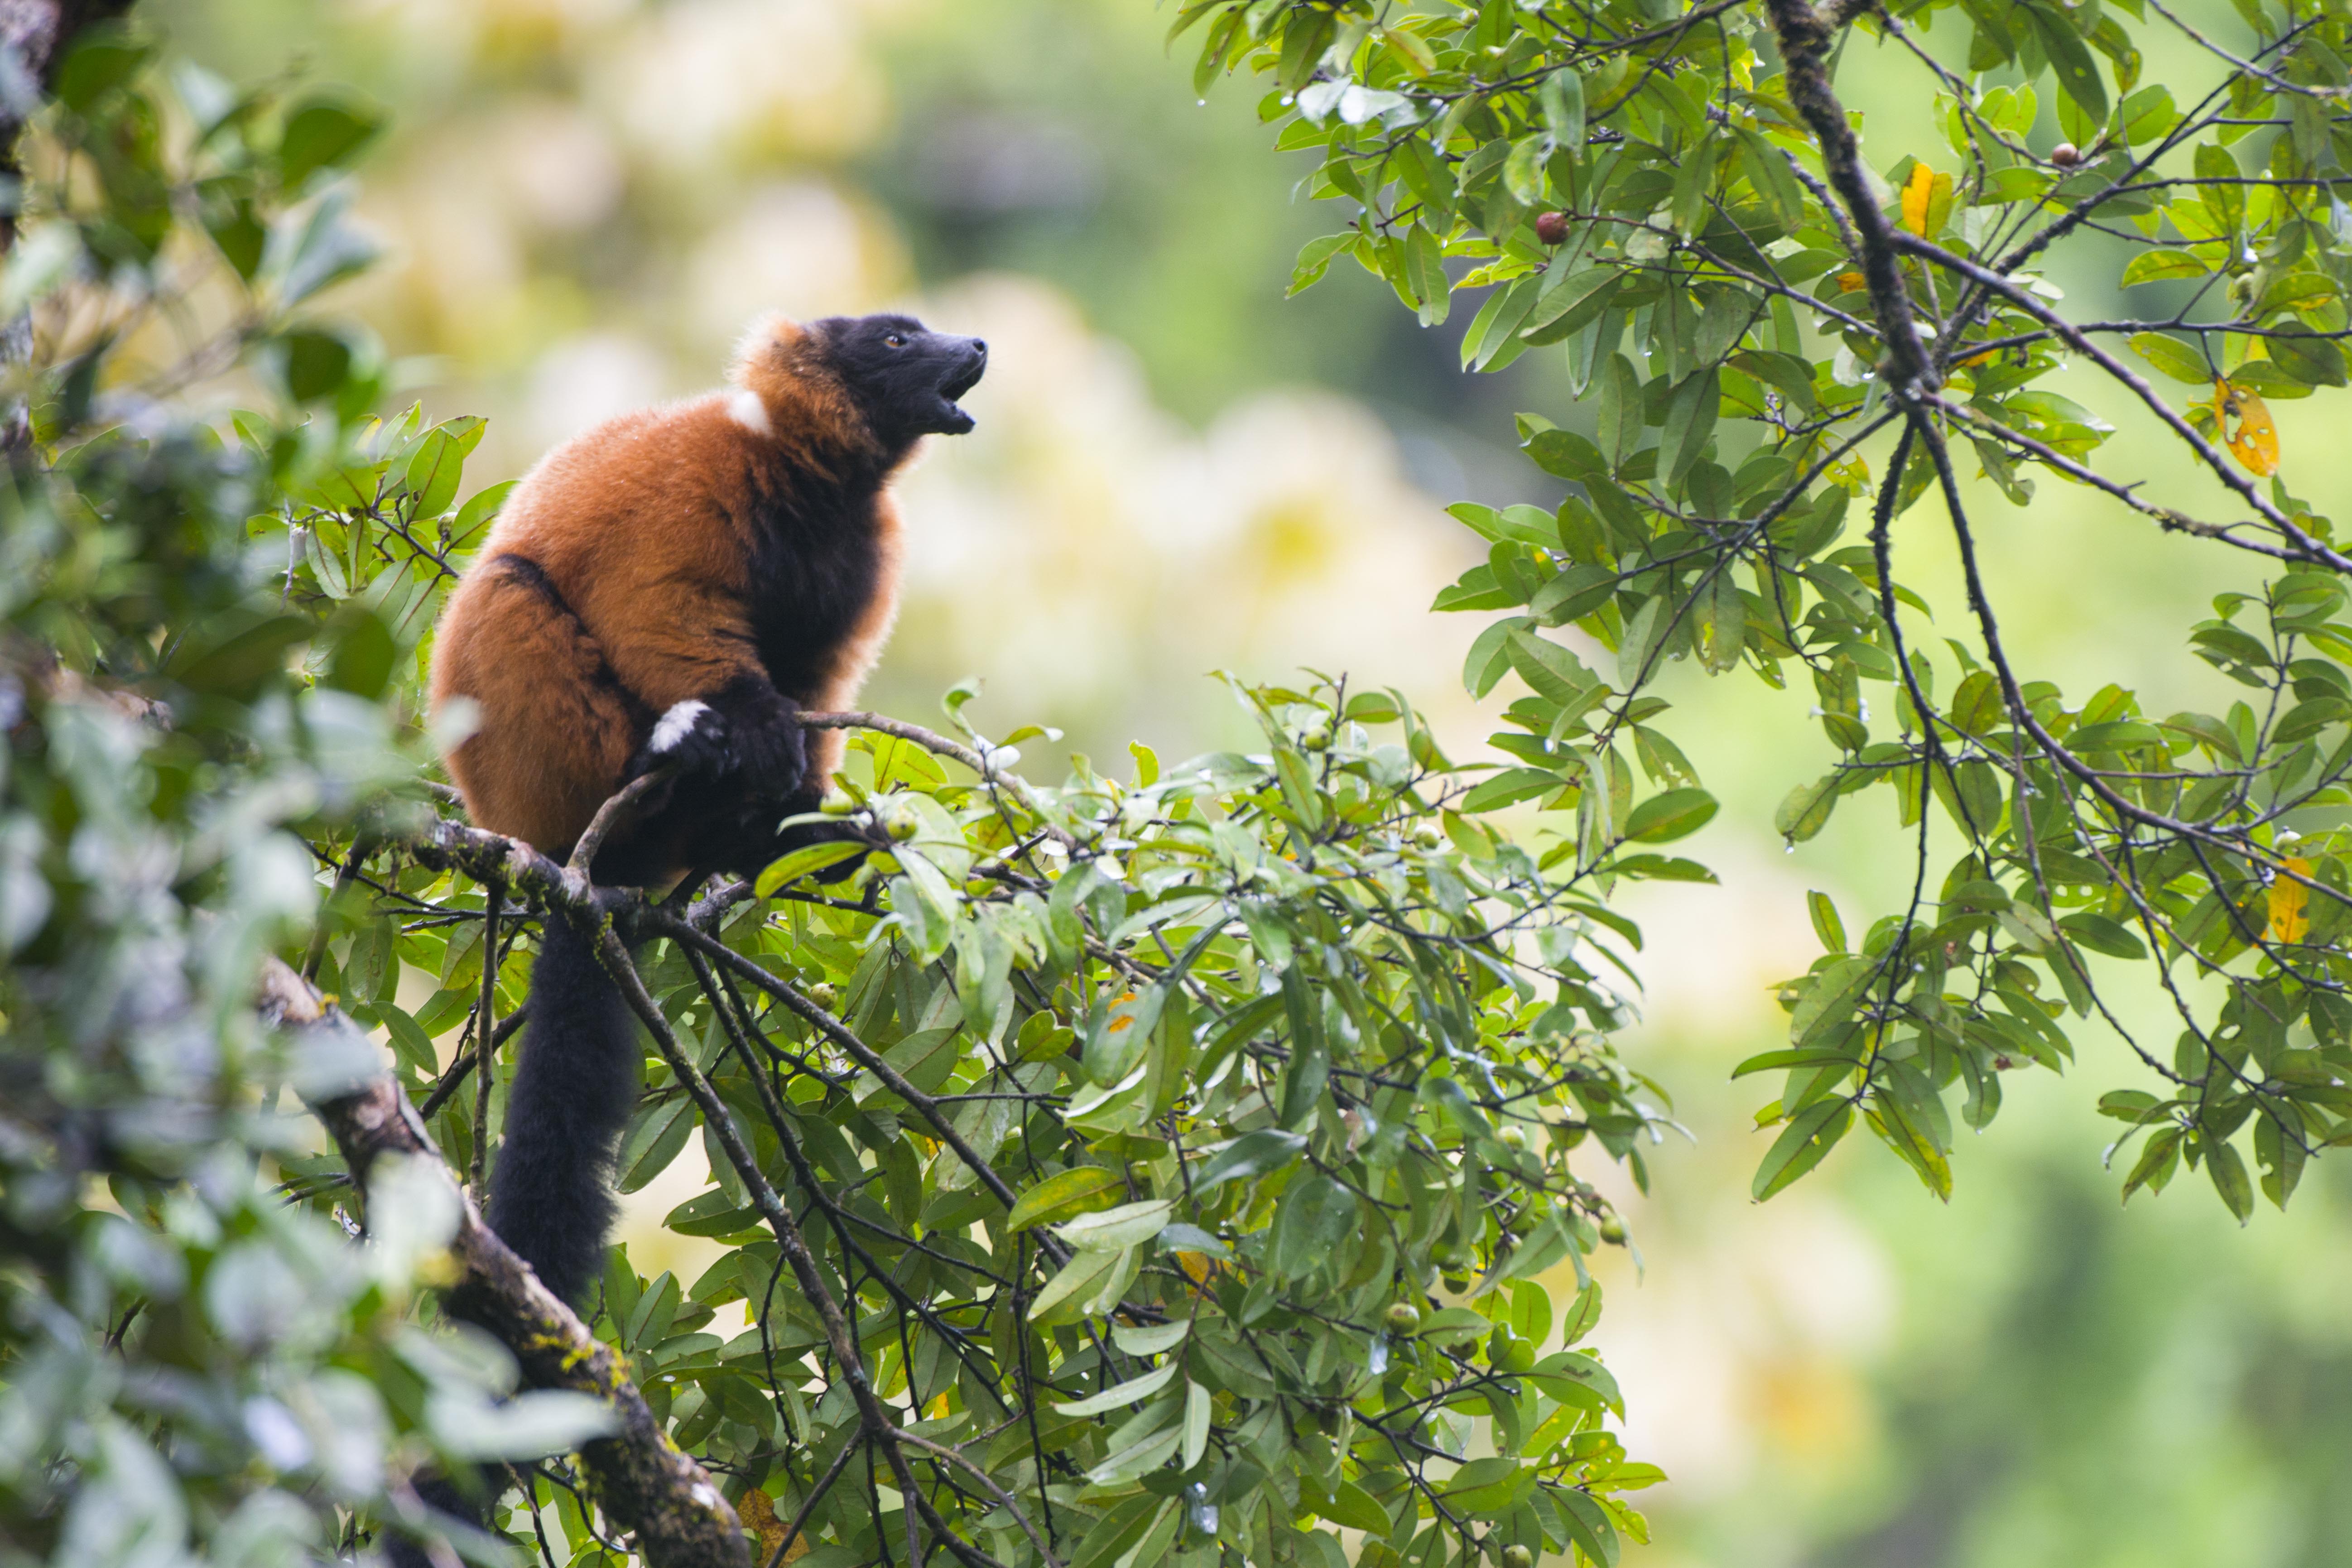 Photo © Sam Rowley
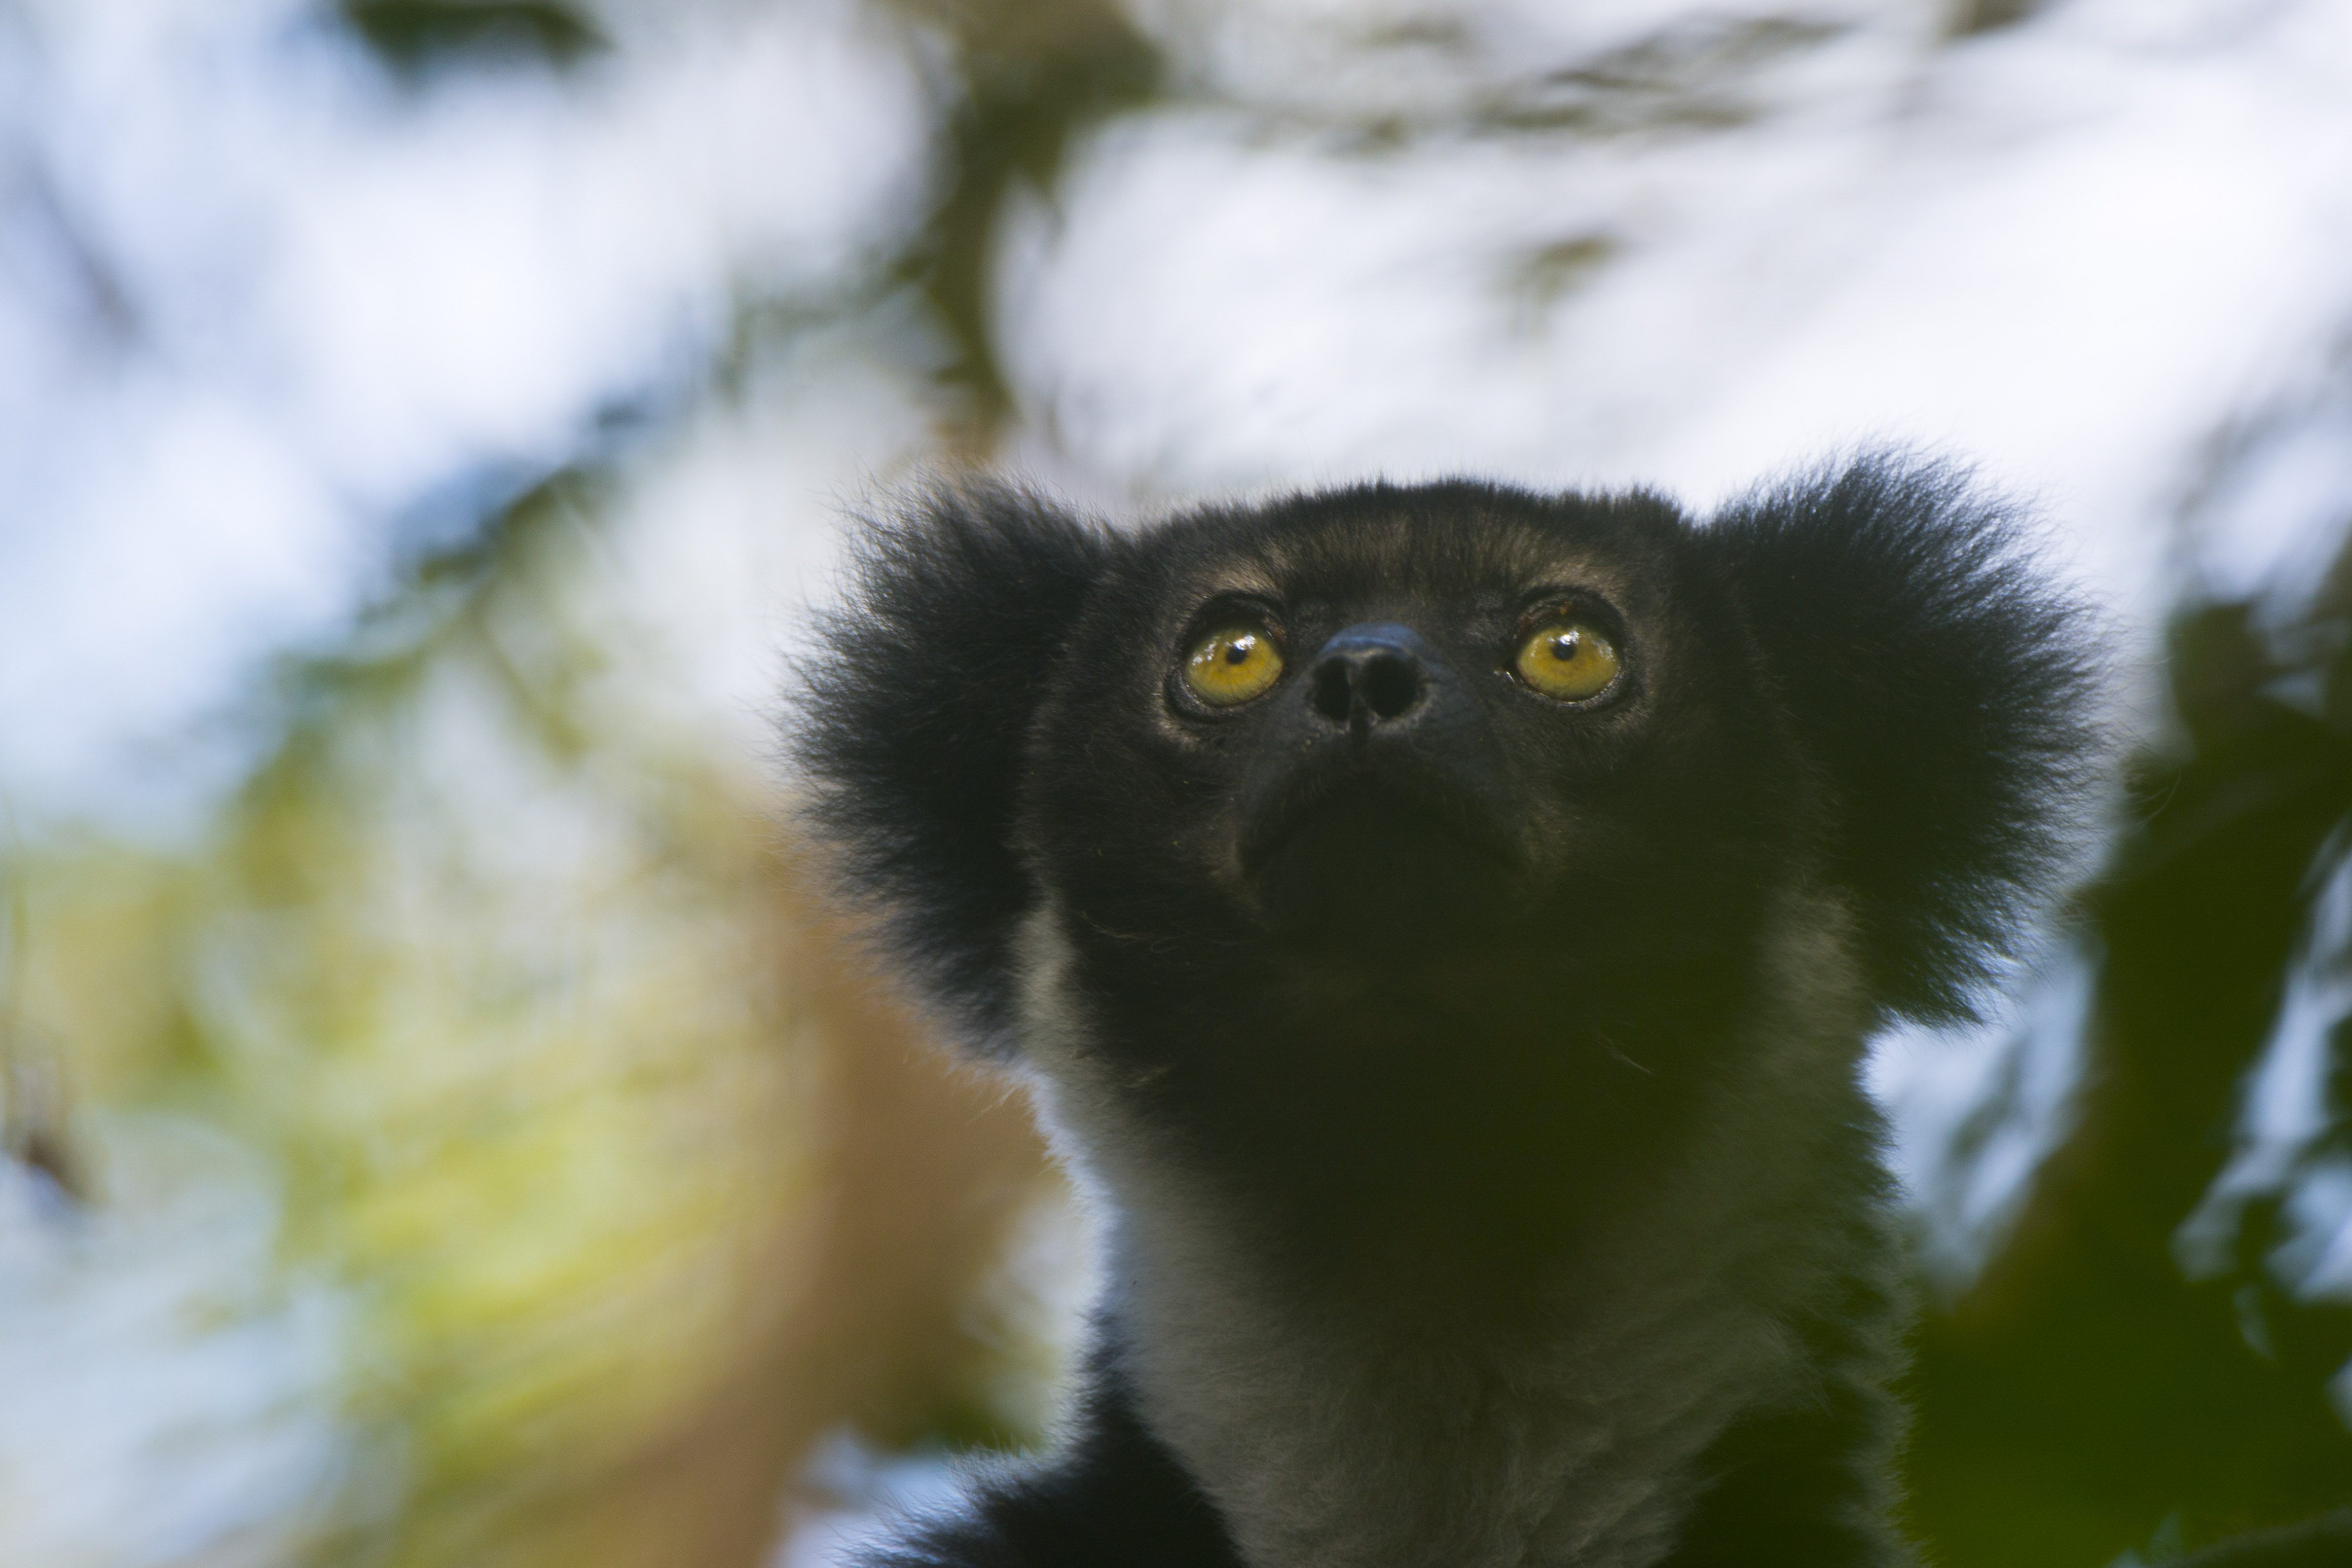
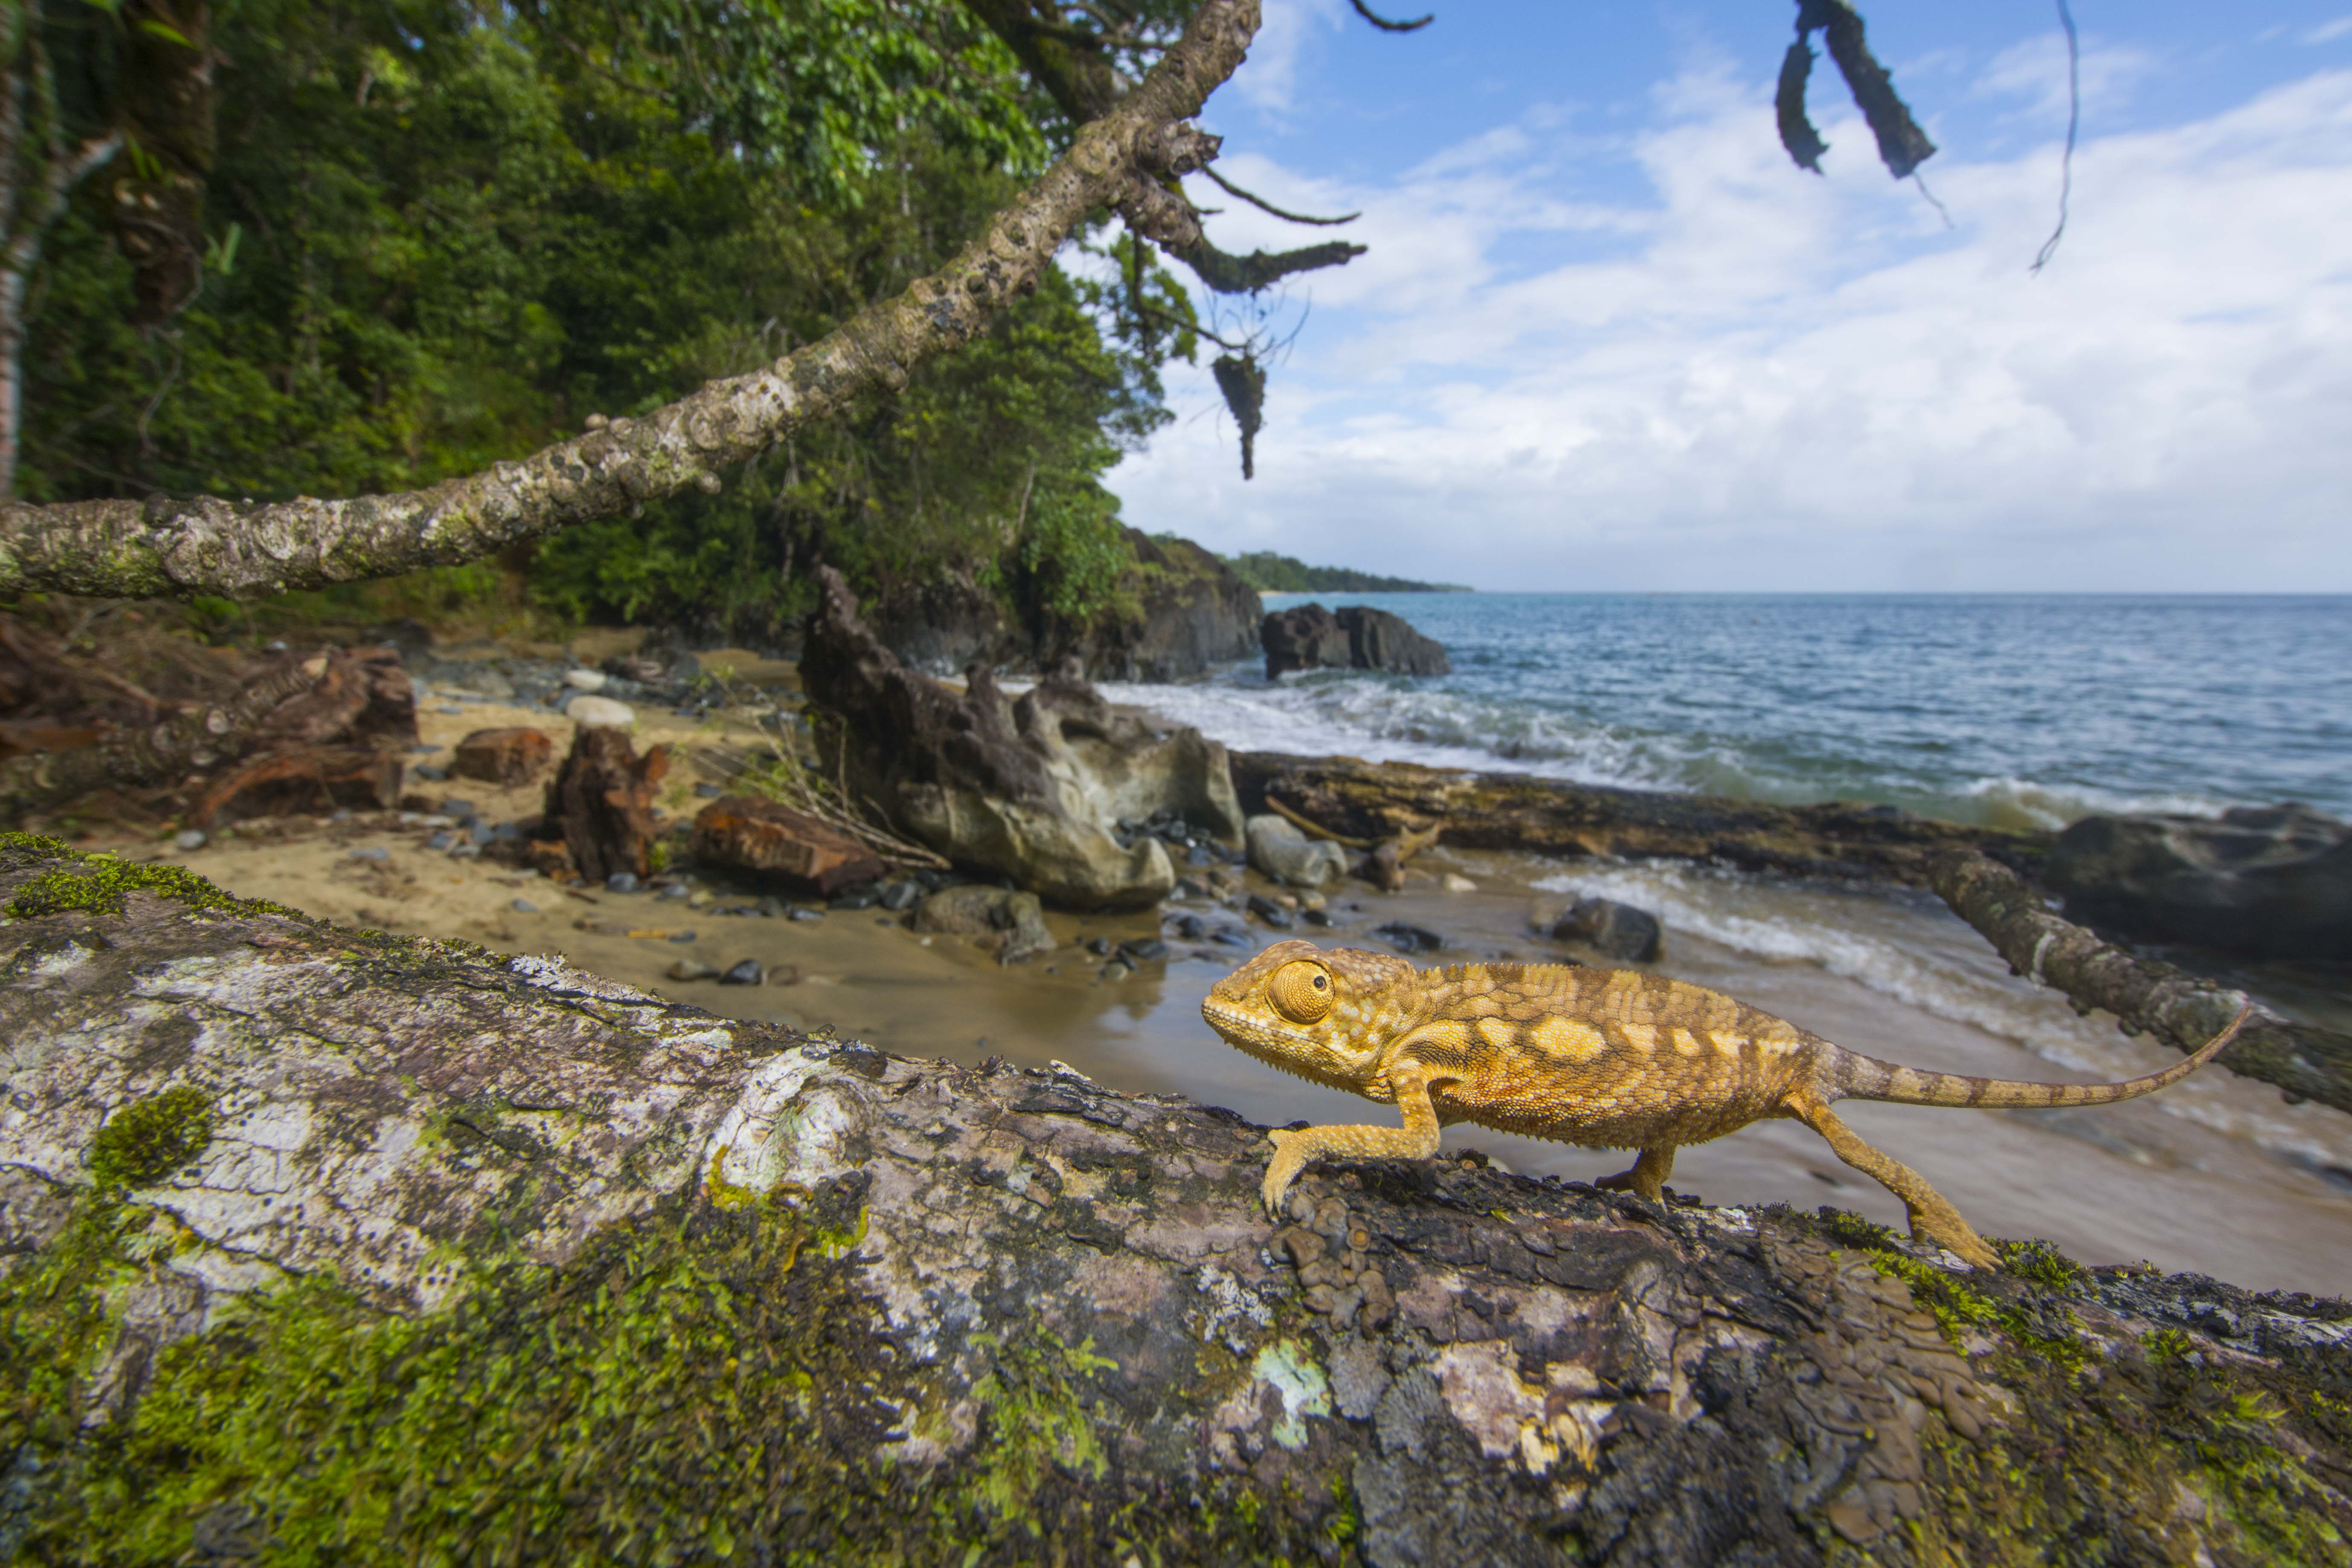
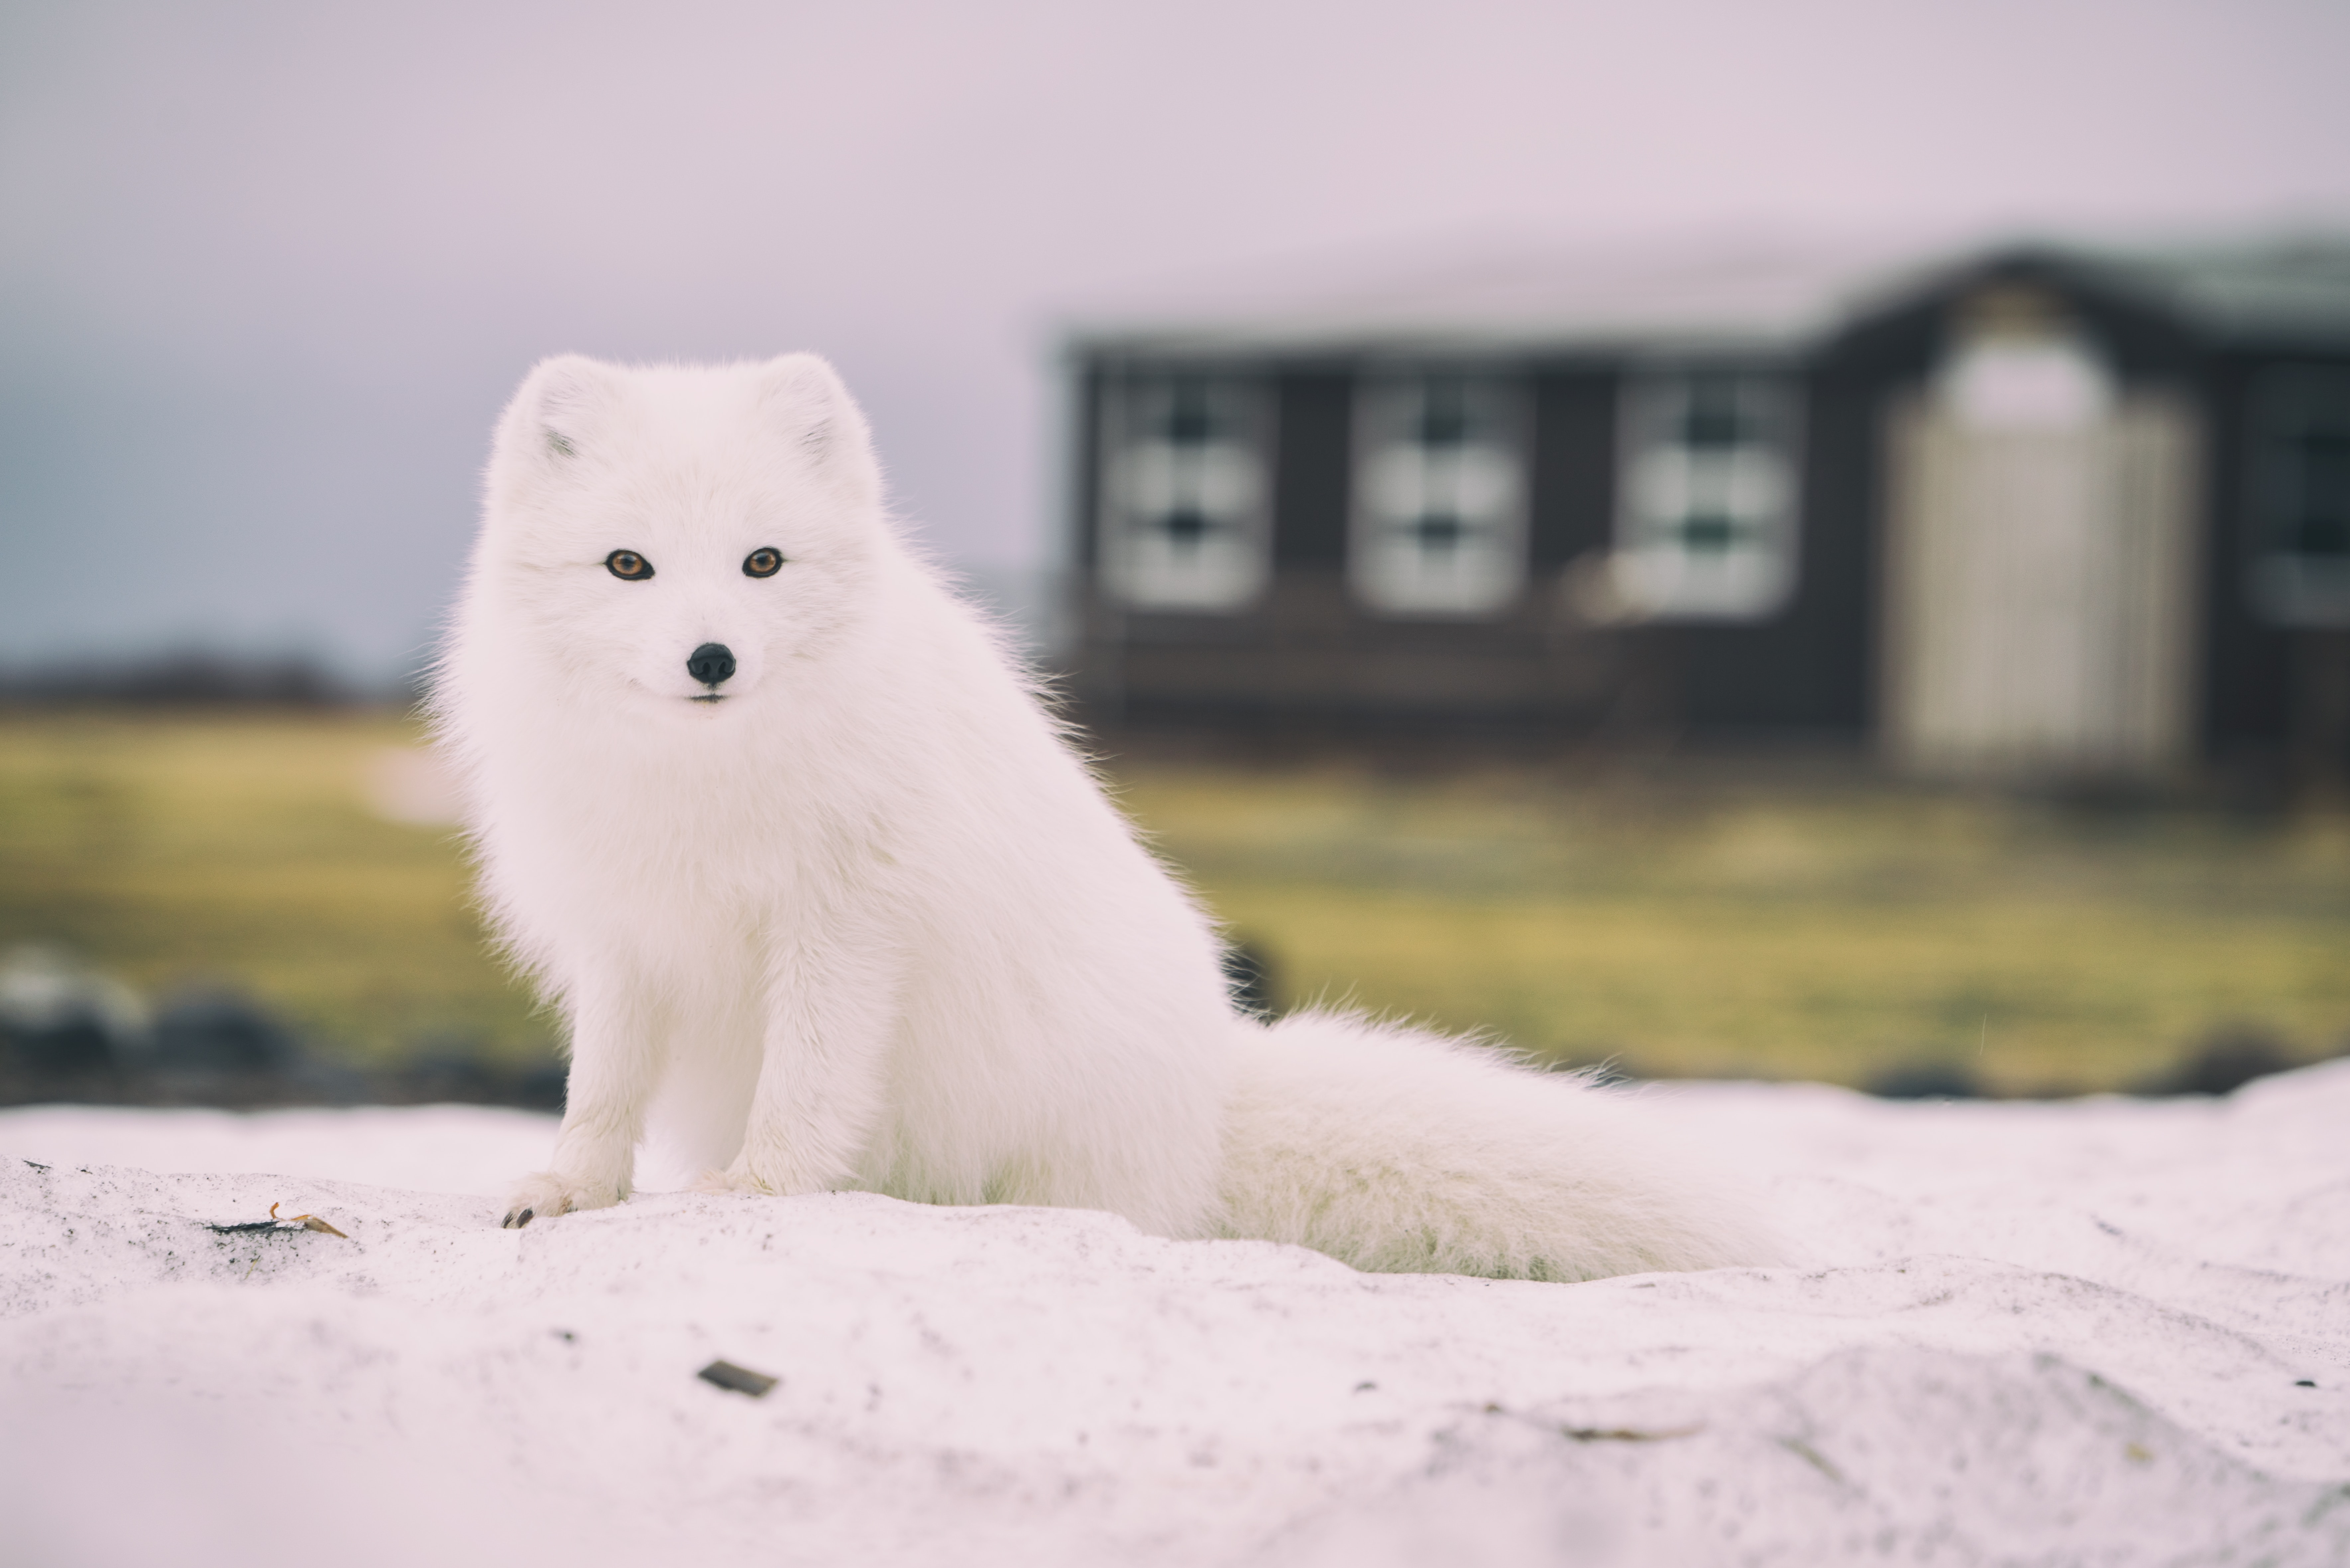
One of the most difficult habitats to photograph is the rainforest. These tropical environments are jam-packed with life, unpredictability and excitement, but also offer a steep learning curve. Photographed well, this chaotic environment could be your most rewarding photographic challenge yet. Here’s what I have learned photographing the amazing wildlife in the Central American and Madagascan rainforests.
Take care of your kit
Tropical rainforests are crawling with equipment-destroying opportunists, are instigators of unpredictable downpours, and are home to some of the most humid atmospheres on our planet. When not shooting, try to keep your kit in a zip-locked bag with silica gel pouches to remove moisture. This will make your bag a relatively dry sanctuary from the dampness of the rainforest. The stricter you are with this, the more difficult it’ll be for fungi and algae to propagate inside your equipment.
However, just before you head out to shoot, leave your equipment out for about half an hour to adjust to the humid air. If you don’t do this, your first few batches of photos will be fogged up and unusable.
When I’m shooting in the rainforest, I usually keep my camera out at all times – you never know what might cross your path, only to quickly disappear into the undergrowth, so you need to be ready to get the shot. Rain can come just as suddenly, so I also keep a waterproof poncho handy to keep myself and my camera dry.
Chase the light
Only 10 percent of light penetrates down to the rainforest floor. With many plants struggling to grow, what hope do we have as photographers to get a fast enough shutter speed?
First, check your settings. Push your camera to the highest ISO setting you’re comfortable with. Increasing the ISO increases your camera’s sensitivity to light but can also introduce ‘noise’ [a grainy layer] to your image. Choosing a low f-number will give you more light to play with [the smaller the f-number, the more light the lens allows in], but will also throw your background out of focus. Decide on your ISO limit and play around with a variety of f-numbers before heading out.
I use a small but sturdy travel tripod which I find is a good balance between providing support for my camera and allowing me to duck and dodge through the undergrowth. Sturdy camera support will provide you with a steadier, sharper shot.
I sometimes throw a little flash onto my subject. This not only creates more light but also adds some definition to any shadows on the subject. A combination of a high ISO, a nice wide-open aperture (low f-number), sturdy camera support and a light dose of flash will give you the fastest shutter speed possible to get a sharp image, even in the gloom of the rainforest floor.
Do your research
One of the most important elements in wildlife photography is knowing your subject – something which is often overlooked. You’ll miss out on countless photographic opportunities by not understanding the movements, behaviors and habitat preferences of what you want to photograph.
Employing a local guide helps, but guides aren’t photographers. They won’t always understand the species or behaviors that suit you. Reading travel guides, researching the rainforest’s wildlife and contacting other photographers who have visited the site previously will make your rainforest trip a success.
Build your expertise
Being at the eye level of your subject is vital. By being at the level of the animal you are photographing, your audience will immediately feel more of a connection with your subject and make the photo far more compelling.
Back home in England, this has meant lots of time lying in the mud. However, in the rainforest, many of your subjects will be high up in the treetops. You should aim to get as high as possible in order to get the best shots.
This can often be straightforward. Some of the more expensive rainforest resorts provide access to a canopy walkway or a tower hide, and cliff tops can also give you an elevated view. Arriving at these locations before the crowds just before dawn may provide you with some truly memorable encounters. Failing this, head to forest glades, salt licks or water sources. These three locations should provide you with a clear view of wildlife upwards.
Isolate the clutter
The rainforest is jam-packed with nature's clutter, making it very difficult to isolate your subject in the frame. Make sure to choose a low f-number to help blur out as much unwanted mess as possible. Getting as close as you can to your subject will also help this.
Clutter isn’t just made up of physical matter – it can also be unwanted light. Shooting in harsh light conditions can throw undesirable highlights in your background. To reduce this, use some flash to lift your subject, or simply choose to shoot on an overcast day in flatter light conditions.
Lastly, your composition choice can naturally lead your viewer’s eye to your subject. Many are often drawn to areas just off center in the frame – a phenomenon defined by the famous Rule of Thirds. Making sure your subject’s eye reflects the light makes them stand out all the more.
Related articles

Simple and flexible travel insurance
You can buy at home or while traveling, and claim online from anywhere in the world. With 150+ adventure activities covered and 24/7 emergency assistance.
Get a quote
1 Comment
Very helpful article. Thank you!