The proper hiking boots, socks, and poles can help you avoid injury and discomfort, so you can focus on the joys of tackling the trails. Experienced hiker Spencer Yeomans shares his tips.
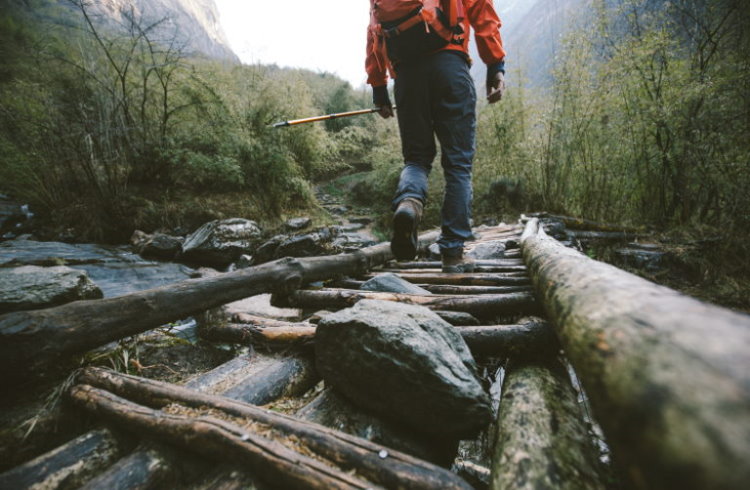 Photo © Getty Images / Popartic
Whether it’s for the accomplishment of summiting a mountain, the sweeping views, or the satisfaction of getting into shape, we all have our reasons for hiking. It might not be easy, but nothing worth doing ever is.
In the pursuit of our goals, it’s our gear that supports us along the way, which is why it’s so important to choose the right hiking equipment. Since our feet and legs are the most prone to impact and injury, we’ll be taking a look at how to choose the proper boots, socks, and poles for your journey.
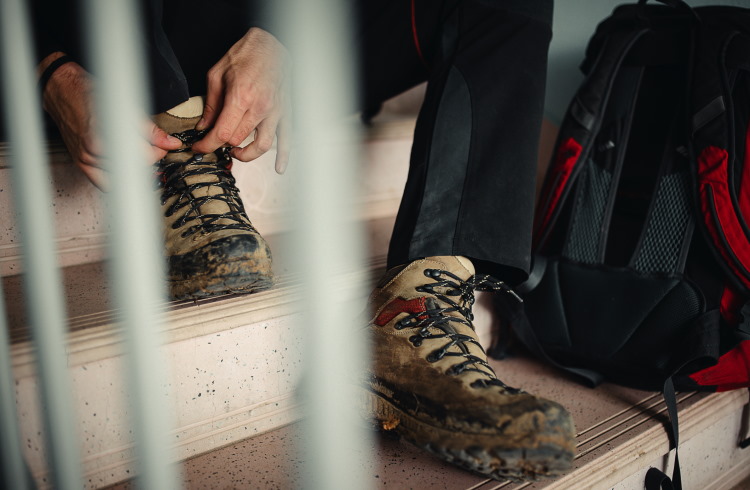
Choosing the right hiking boots
A good pair of hiking boots can mean the difference between comfort and agony, so it’s worth paying extra attention to these. While there are a staggering number of options when it comes to footwear, they can broadly be broken down into three categories:
Mountaineering/winter boots
Designed for use in the most rugged environments, mountaineering boots have a stiffer sole and higher ankle height for added support on uneven terrain. They’re usually well insulated and waterproof as well, thoroughly protecting your feet against the elements.
Best use: mountaineering, winter hiking, and backpacking.
Hiking boots
Standard hiking boots are what most of you will want to go with. Though they lack some of the support and durability you’ll find in mountaineering boots, they make up for it in flexibility, weight reduction, and a much shorter break-in period. Overall, they’re a versatile option that performs best on day hikes over easy to moderate terrain.
Best use: day hikes and short backpacking trips.
Hiking shoes
As opposed to hiking boots, hiking shoes have a low-cut ankle and a more flexible midsole. The reduction in material and flexible sole create a lighter shoe that allows your foot to bend and flex naturally while walking. This prevents other joints from receiving as much impact, minimizing the occurrence of stress and injury.
However, a flexible sole will cause your foot to wrap around rocks and other protrusions, creating fatigue over time. That’s why it’s not advisable to wear shoes like this on long mountain treks where your feet will constantly be curling around the jutting features of the landscape.
Best use: day hikes, ideally on well-maintained trails.
Choosing the best hiking socks
Hiking boots are important, but so are what you put into them – namely, your socks. Without the proper pair of socks, your feet will quickly become uncomfortable and full of blisters and have trouble regulating temperature. Here are some features to pay attention to:
Sock height
No-show socks are very short, ending just below the ankle bone. They provide little to no protection against skin-to-boot abrasions, so they should only be worn with low-rise trail-running shoes and hiking shoes.
Ankle socks go a bit higher up, covering the ankle bone. The extra protection makes them suitable for low- to mid-cut boots and shoes.
Crew-cut socks are by far the most common. They ride higher up the leg, stopping just shy of the midpoint of the shin, giving you plenty of cushion when wearing traditional hiking boots that have high cuffs.
Knee-high socks are harder to come by, and most of you likely won’t need them. They’re commonly used in mountaineering boots, and in cases where you’d be hiking in a sub-freezing climate.
Sock fit
Socks that are too big can create folds and wrinkles, leading to blisters, while socks that are too small can cause painful pressure points. When you’re trying socks on, look for something that feels snug but not overly tight. You don’t want them moving around inside your boots every time you take a step, but they shouldn’t be suffocating your foot either.
Hiking sock materials
It’s unlikely that you’ll find a pair of socks that only makes use of one material. Even the lauded Merino wool socks often use a blend of wool and synthetics (like polyester) for added durability and faster drying.
With that in mind, it seems I just spoiled the answer to the best hiking sock material. Merino wool is a crowd favorite for a reason, providing superior cushion, temperature regulation, and odor resistance. It’s also a lot less itchy than older models of wool socks.
Polyester and nylon are also fairly common synthetic options, which are great for durability and moisture-wicking.
Choosing the best hiking poles
Hiking poles are used to enhance your stability on the trail. They typically come in sets of two poles, though in practice, many hikers use only one. A couple of points to look at here are the pole’s length, and other handy features like adjustability, weight, and locking mechanisms.
Length
When you’re holding your poles with the tips on the ground by your feet, your arms should be resting at a 90-degree angle. If you plan on getting adjustable poles, and you’re taller than 6 feet, you should target a set with a maximum length of at least 51 inches. If you’re shorter than 6 feet, you can always adjust the poles until they’re the perfect length for you.
Adjustability
While there are some fixed-length poles out there, most are adjustable within a range of 24-55 inches. Remember to keep your arms at a 90-degree angle on flat ground, but feel free to extend the poles when you’re going downhill, or shorten them when going uphill. Doing so will give you more leverage and stability over different terrain.
Weight
Most hiking poles land somewhere between 15-20 ounces in weight. However, if you’re willing to spend a little more money on an ultralight pair, you could easily shave that number down to 5 ounces.
Locking mechanisms
All hiking poles come with a locking mechanism. It prevents the poles from expanding or collapsing after you’ve set them to the desired length.
An external lever lock is essentially a clamp that can be easily adjusted, even when you’re wearing gloves.
A twist lock uses an expander and screw and tends to be one of the most durable options.
A push-button lock snaps into place with a single pull and can be collapsed again after pushing a button.
Locking mechanisms will loosen over time, so always check to make sure they’re secure before you set off on your hike.


1 Comment
Trekking poles: Most people new to the trekking poles have no X-country skiing background and can not wrap the wrist straps correctly. One is not supposed to just stick the hand through the loop and grab the pole. The hand must be pushed through the loop from underneath so that the strap is between the palm and the grip and then over the back of the hand.
This way the hiker needs not actually squeeze the grip at all and still put his/her full weight on the poles in all positions. Also the reach is better, hand can be placed on the top of the pole when jumping over streams etc, poles can be simply dropped from the hands to take pictures and they hang by the strap. Also if falling down just letting go prevents the hand getting under the pole when hitting the ground.
This is simple, but by looking at hikers is seems only 5-10% of users actually know this. For this reason bloggers like you should, when discussing trekking poles, also point this out with pictures of the proper use of the straps.