Mountain photography is no easy task and Emily Polar knows this better than most. Here's her advice, acquired from years of navigating stormy ridges, to finding the perfect angle.
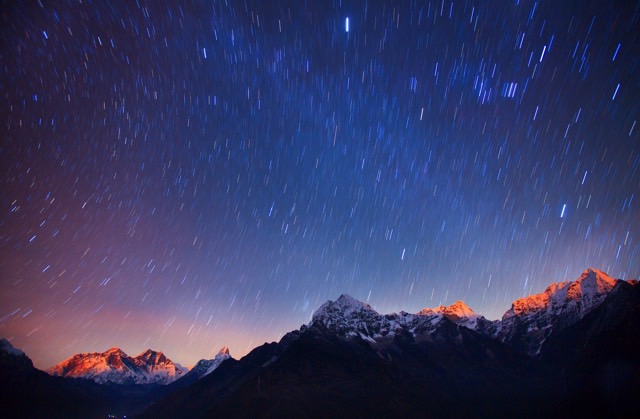
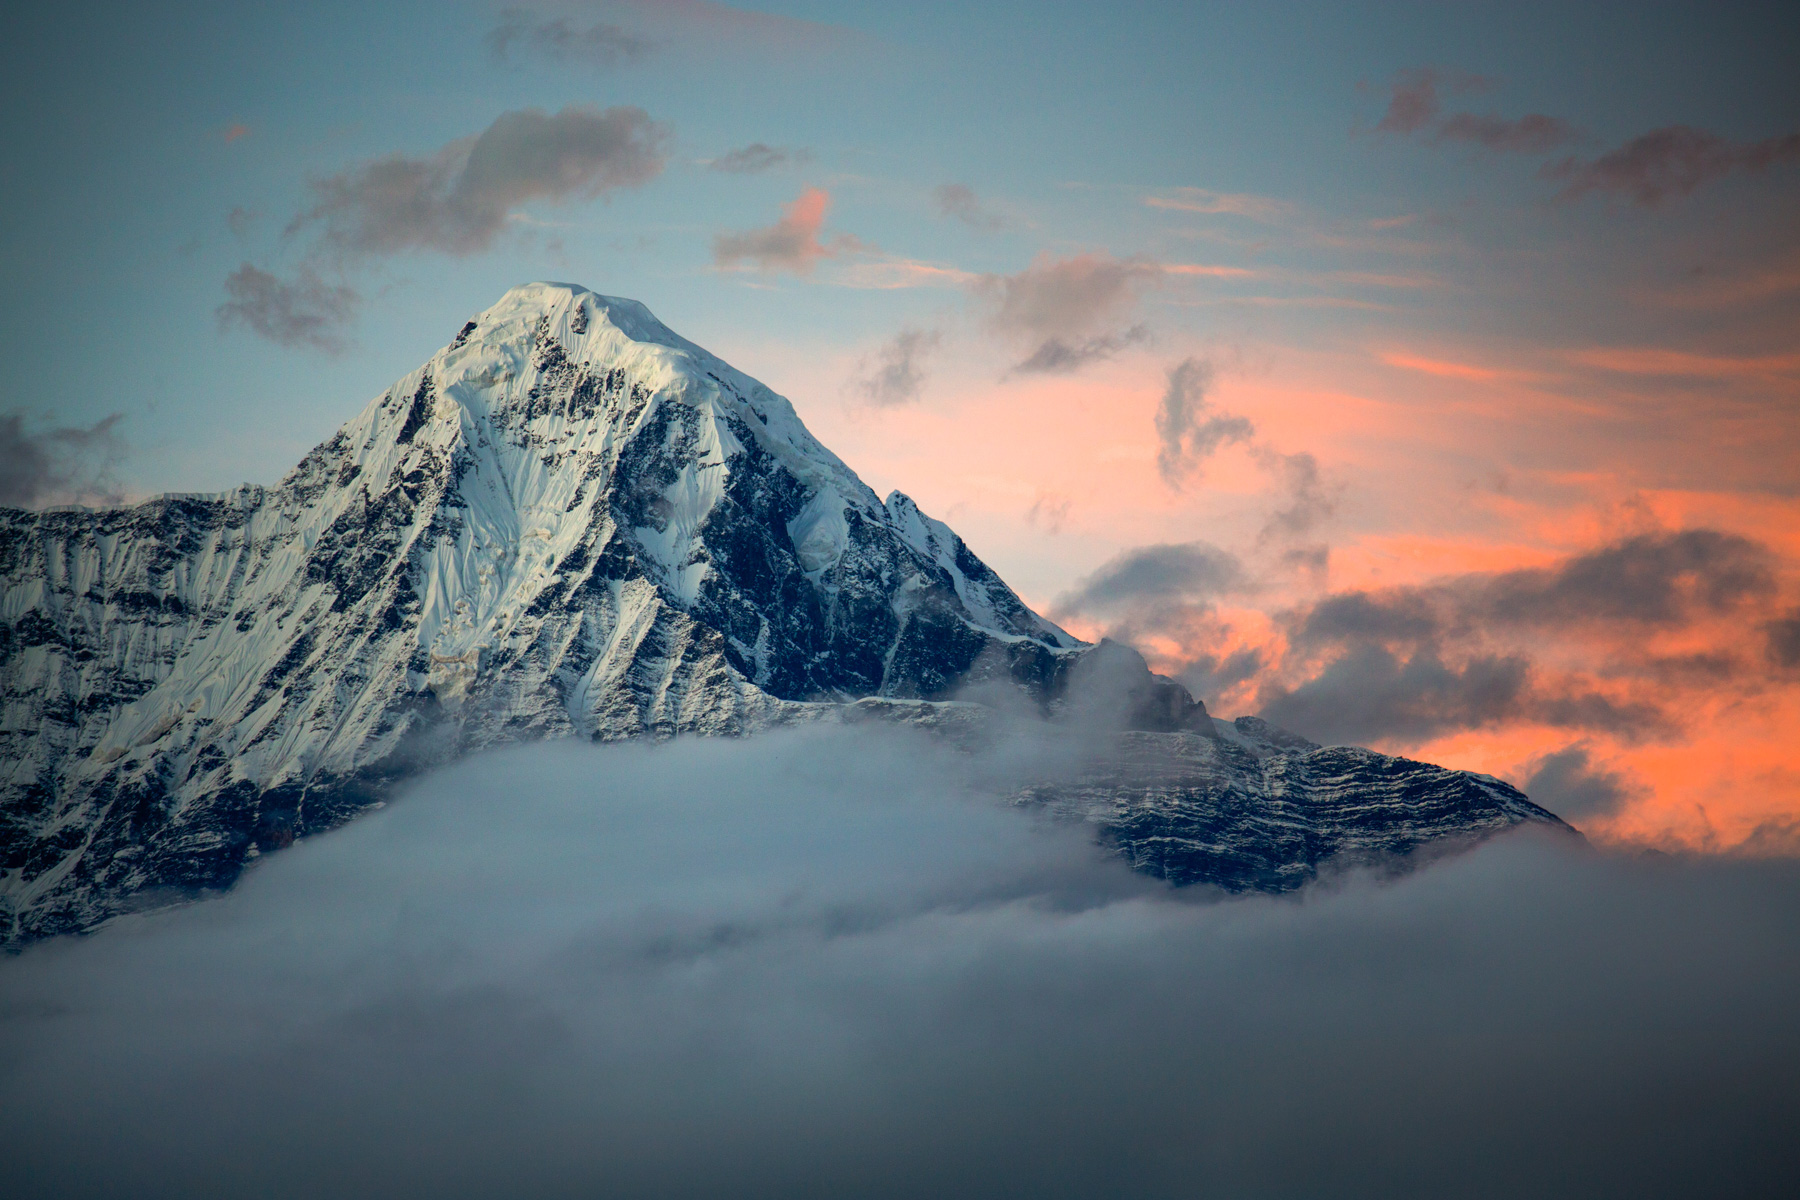 Photo © Emily Polar
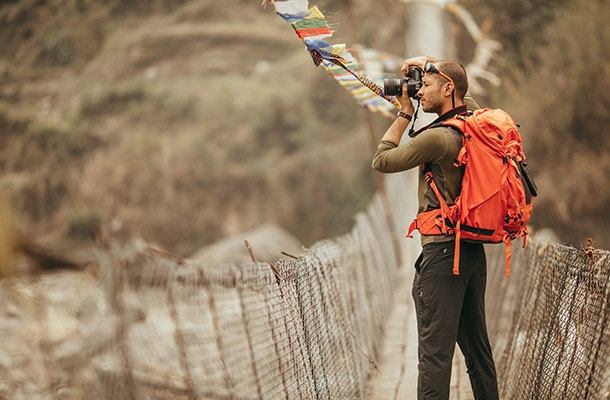
I’ve been photographing mountain regions in different parts of the world since 2002. These adventurous experiences have contributed to my toolbox of what to consider and how to prepare when heading into the mountains. There is no better teacher than direct experience, but here are some tips so you can start ahead of the game.
- Preparation and The Packing List
- Carrying Your Gear
- Timing
- Depth Through Composition
- Location and Light
- Keep Focused and Get Out There
Preparation and packing list
Some of my favorite images were taken in inclement weather with little to no visibility, when all of a sudden, the clouds break and an amazing landscape reveals itself. You'll have to be prepared to sit around and wait it out.
Before heading out for the day, check the weather and make sure to pack a rain jacket or shell, layers, gloves, snacks, water, a compass, and a lighter. You’re in the mountains so conditions can change fast and it’s good to be prepared. Here's a list of items I take with me on my alpine photography adventures:
- Gloves: thin gloves with tips that have a little traction for operating the camera. They’re functional and keep your hands from freezing.
- Trucker hat: sunglasses work but I prefer a trucker-style cap that keeps the sun out of my eyes and off my face. It can also work as an extended flag for lens flare.
- Intervalometer: this can be used for time-lapse, long exposures and as a delayed shutter release.
- Two cameras: I recommend bringing two bodies if you want to shoot time-lapse so you have the option to shoot at the same time.
- Large ziplock bag: good for putting your camera in if it’s raining and you still want to shoot.
- Lenses: two to three lenses 70-200, 16-35, 50mm (optional) If you’re only bringing one go with the 24-105 2.8.
- Extra batteries: or a solar panel with charger (depending on how long you’ll be out).
- Layers of clothes: trust me. You won’t be able to focus or be inspired if you're too cold and wet. And keep them light.
Remember, your safety is always much more important than a great shot. If you're away from home, make sure you've packed your travel insurance too.
Carrying your gear
Sounds simple, right? It's a bit of an art but it'll become second nature. My best advice – have your camera out and ready. If it’s not, then it should at least be easily accessible. The environment will be constantly moving around you as you make your way and the perfect angle for a shot might sneak up on you.
Keep the strap of your camera over one shoulder and across your chest then tuck the lens under the crook of your arm. If you’re wearing a windbreaker or a jacket you can zip it up so it stays protected and won’t swing around while you're on the move. Best of all if it starts raining, then you’re covered!
If I'm backpacking and have a big pack, I don’t bring a camera bag. I put my lenses in soft cases at accessible points of my big backpack (side entry zippers) and then have one body and one lens in hand.
Timing
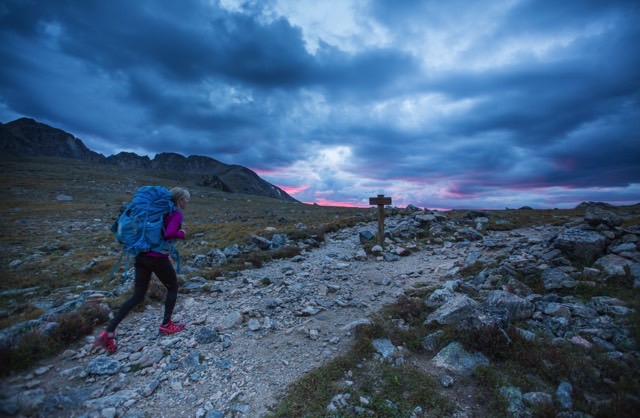
Sunrise and sunset are the best yet most challenging times to shoot in the mountains. At these times, you can find more dramatic lighting and color but they'll be changing by the second. The afternoon can also work depending on the landscape and what you're shooting.
When deciding between sunset or sunrise, I usually go with sunset as the softer light lasts longer. The mountains retain a very subtle light long after the sun has set. This means you can shoot spectacular images for a longer period of time, as opposed to in the morning, when the light can change from too soft to very harsh in under 15 minutes.
Depth through composition
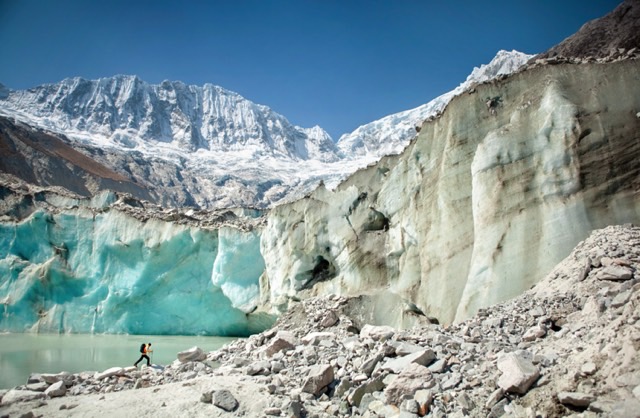
It’s all about the depth of mountain landscapes. Having objects or subjects in the foreground that lead into the background can help to show the environment and its scale as well as give the viewer a sense of place and beauty. If you don’t have a telephoto lens or are faced with a challenge of a landscape with little depth – throw in foreground items such as leaves, trees, rocks or a person. These help with the layering of depth and help frame the subject of the photo.
Location and light
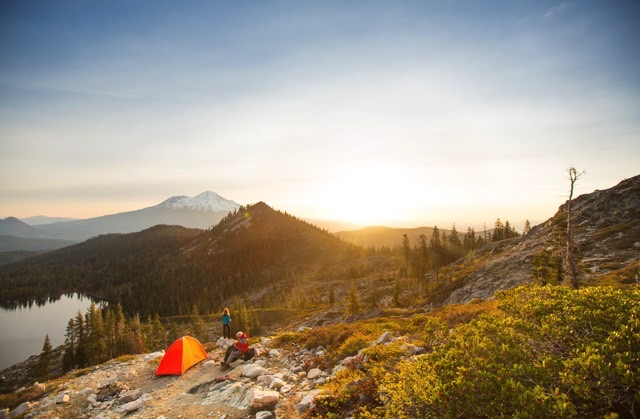
If you can find a saddle or can position yourself on a ridge – do it. It will give you access to longer windows of light and therefore more depth. If you’re stuck down low in a valley it makes for more challenging lighting situations with an undesirable shadow-to-highlight ratio. If you find yourself in a valley the whole time, you may just have to wait for dusk to balance out the sky and valley ratios. When in doubt, you can backlight it by shooting directly into the sun and illuminating something from behind. It can make for a more interesting/dynamic light. When backlighting I usually expose 2/3 – 1 full stop for proper exposure in the foreground. Play around, experiment and have fun with backlighting.
Remember, alpine terrain can be unstable at the best of times. Don't travel to any places off-limits to the public (there's a reason it's off-limits!) and keep an eye on the weather. If you’re on a high ridge and you see lightning – go down!
Keep focused and get out there
The comfort and weight of your gear on the mountain is important. The easier and quicker everything is when you’re in the mountains the better. It increases your chances of getting the shot as it comes into your sights. You’ll be tired and on the move in unpredictable weather, navigating unstable terrain. Less is more and improvising to a degree is encouraged.
At the end of the day, you have to decide whether you are in the mountains to play or to take photographs. It’s possible to do both but you will most likely be leaning towards one or the other. Alpine shooting isn’t easy. You have to be patient and put in time and effort to get the shots. But the most important thing is to get out there, even when you're cold and tired. The dedication will show.
Related articles
Simple and flexible travel insurance
You can buy at home or while traveling, and claim online from anywhere in the world. With 150+ adventure activities covered and 24/7 emergency assistance.
Get a quote
1 Comment
The picture of heart lake should say it is in mount shasta, california...not Canada. That's mount shasta in the background...where I live.