Anna Zhu, winner of our 2009 Travel Photography Scholarship, shares what she's learned in her career so far.
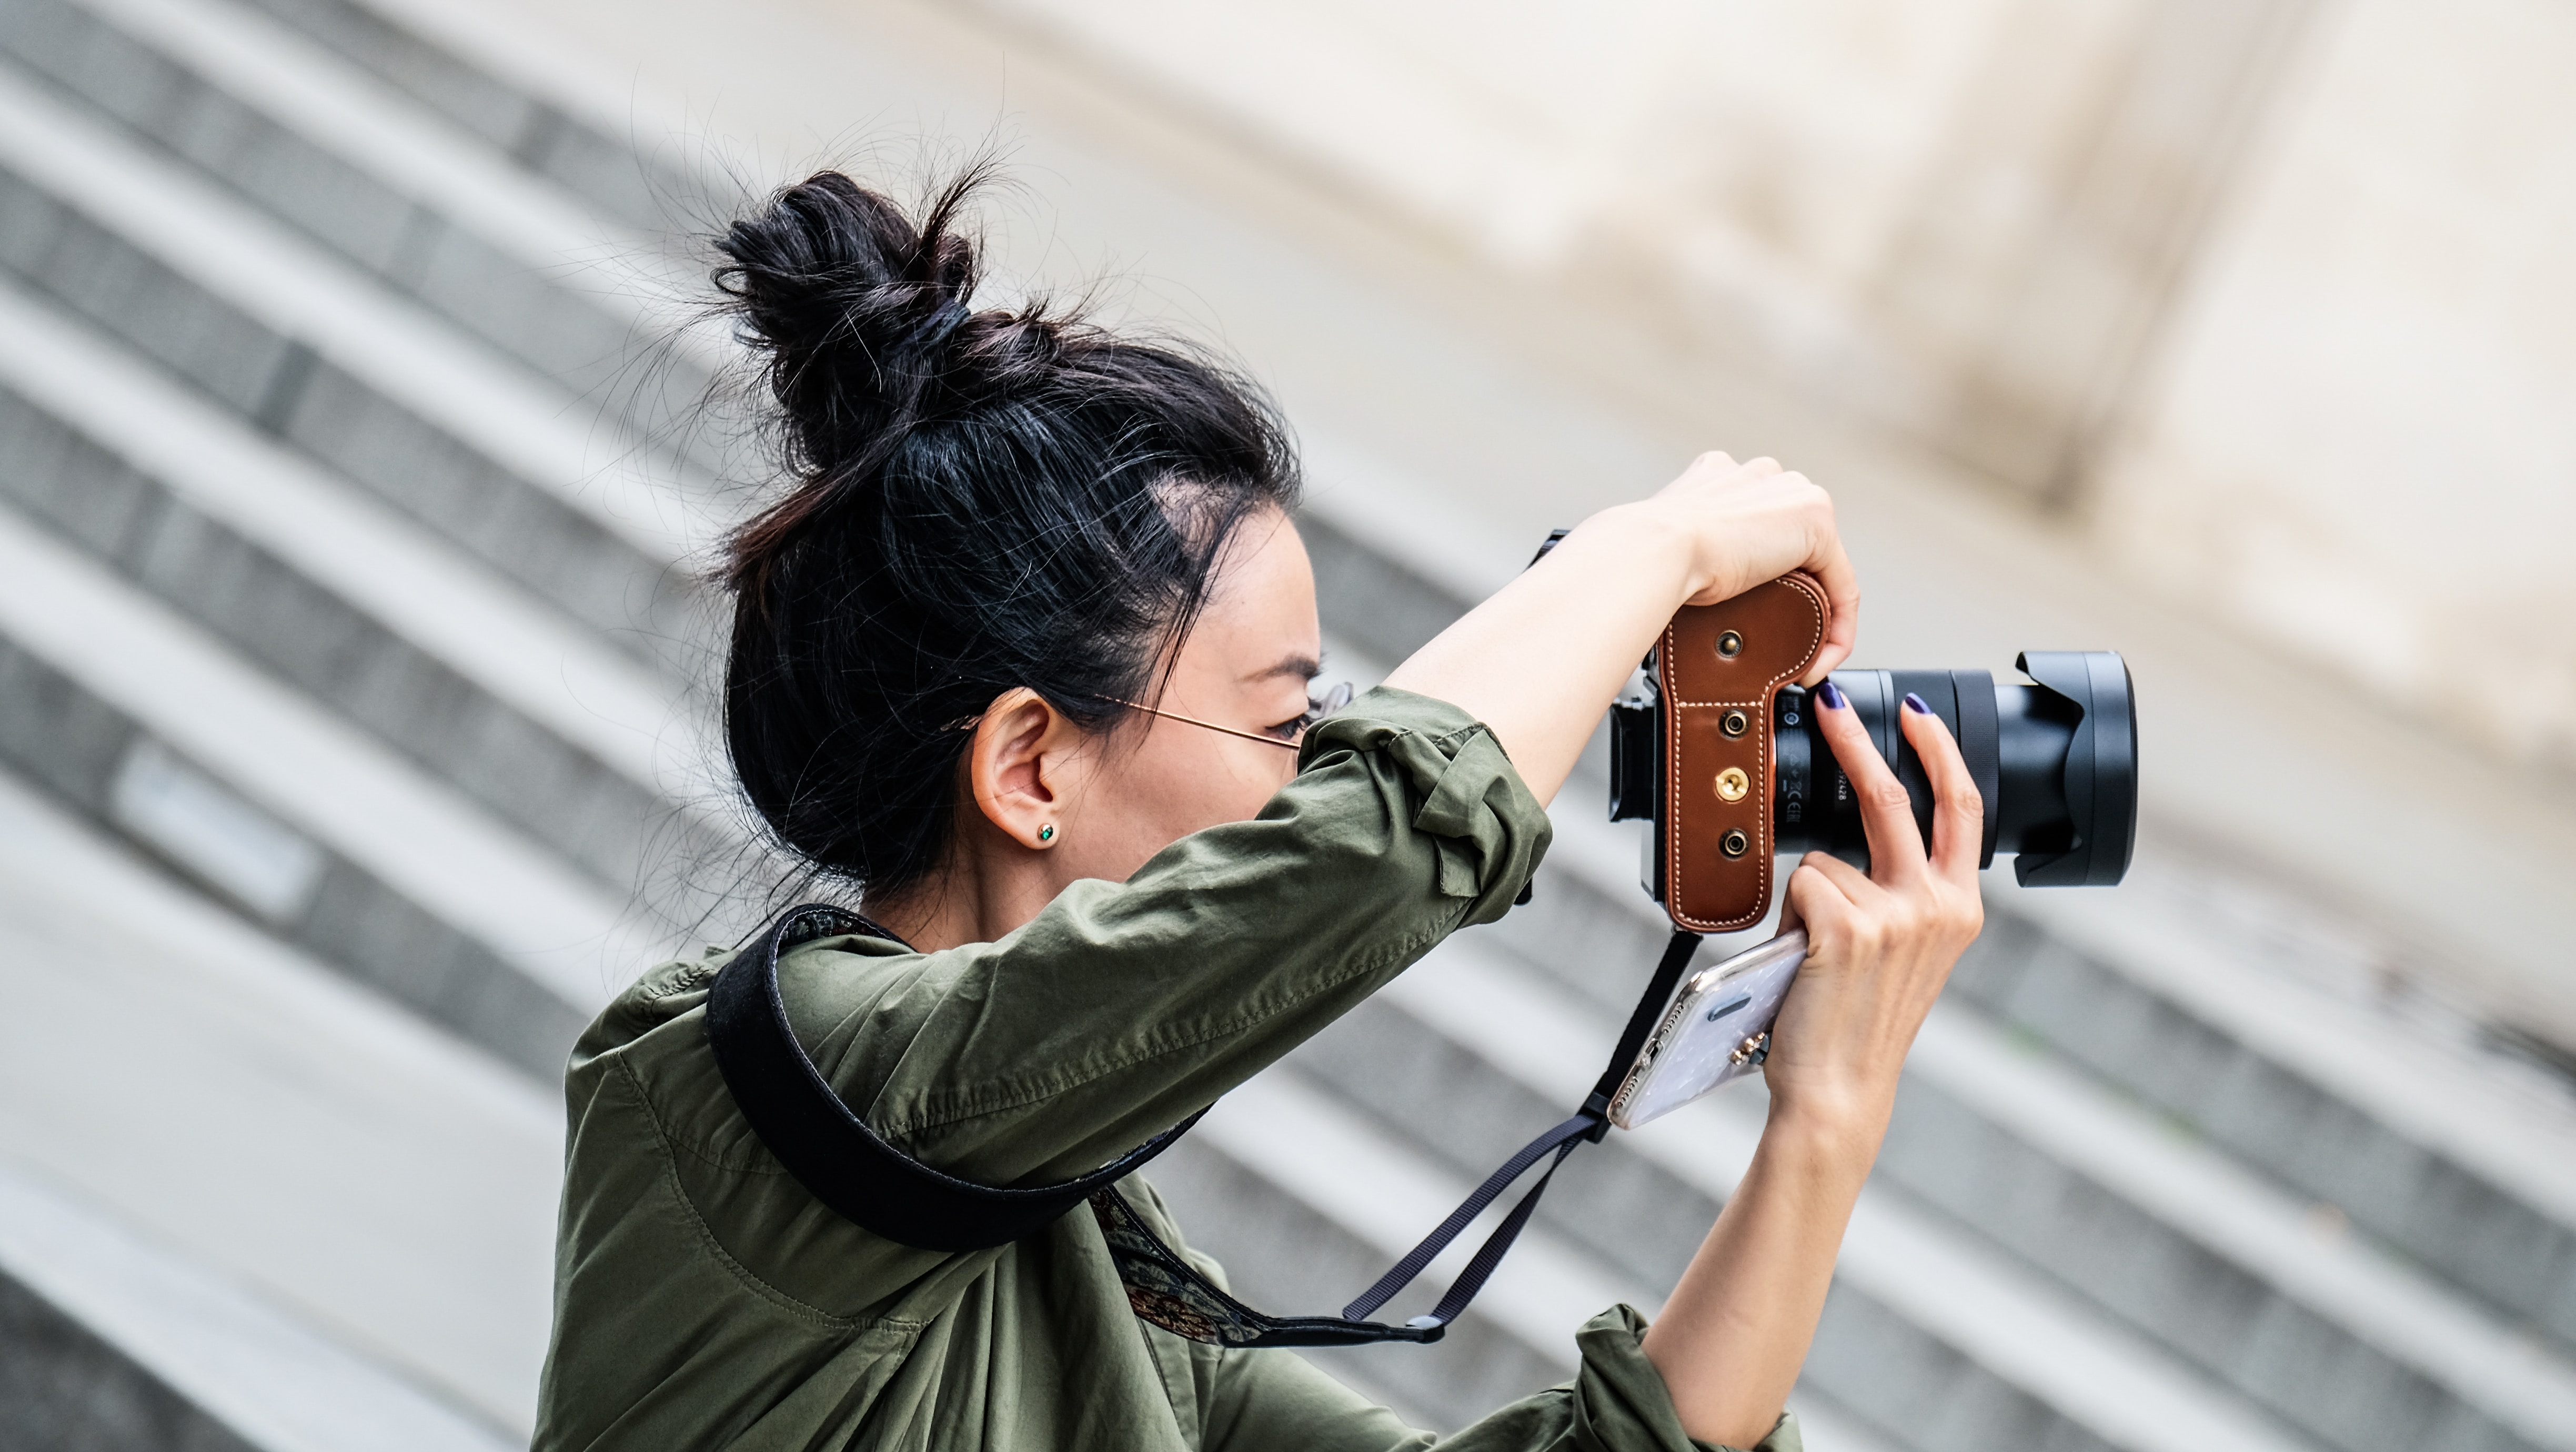 Photo © Kevin Grieve
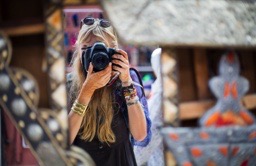
You've got a big trip ahead and you've just bought yourself a new camera – congratulations! Here are a few things I've learned about travel photography that'll hopefully help you take your best travel photos yet.
- Read the Manual
- Research
- Set Yourself a Simple Brief
- Pack Smart and Pack Light
- Take Your Camera Everywhere
- Bend Your Knees
- Keep a Backup
- Number Your Memory Cards
- Have Fun!
- Edit, Edit, Edit
1 Read the manual
New cameras are exciting, but there's nothing more frustrating than being unable to access the features you invested in. You don't need to know what every button does (I probably only use about 50 percent of my camera's features), but knowing how to switch your camera into manual flash, understanding the dials for aperture and the shutter priorities, as well as the exposure compensation is a must. Spend a couple of weekends before your trip making friends with your new camera – you'll be rewarded.
If you are a beginner and have the time and inclination, a short course in the basic technical aspects of photography would be wise. Camera bodies may have changed over the years, but the mechanics of photography have not.
2 Research
You've probably picked your travel destination of because of its picturesque landscapes, cultural richness or abundance in flora and fauna. Jump onto Google, Flickr and Instagram (and your local library – for those of us who prefer analog research), and see what other photographers have captured. You can decide whether to emulate them (a great way to learn) or carve your own path.
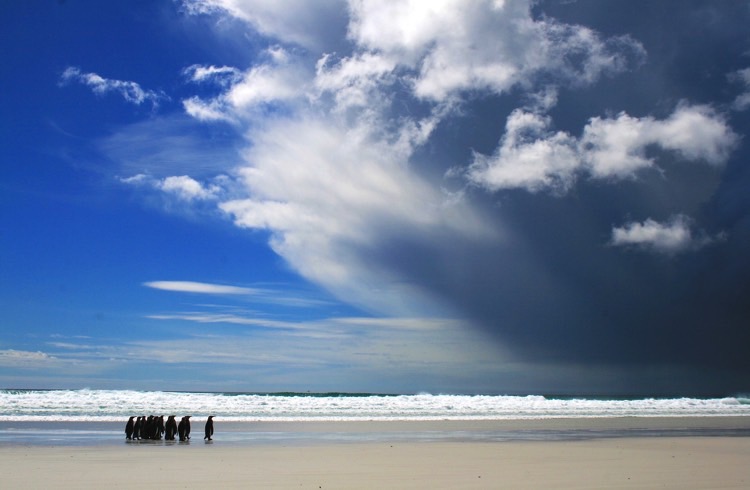
When I was researching a trip to Antarctica, I found lots of images of ice and wildlife, but very not many modern-day portraits of people who venture into this landscape. My strength is in portraiture, so I decided to investigate this path.

3 Set yourself a simple brief
This one may not be for everyone, but I find that setting myself a simple brief helps me get into the photographic 'zone' of looking for shots, and usually means that I end up with images that are a little less random. They don't need to be complicated: "photograph where you are at sunset every day", "photograph the third person you see every morning", or even "photograph your dinner every day" (but food bloggers do this already).
When I couch-surfed in Buenos Aires for three weeks, my brief was simply to take a photograph of every person I met – this included my hosts, the baker, streetside florists, people I asked for directions, bus drivers, everyone! I ended up with about 100 portraits which I then edited down into a series.
You can practice this technique before you leave, and see if it works for you. Take your camera out for a weekend and set yourself some parameters, e.g. "photograph everything yellow" or "photograph from knee height only". You'll be surprised how setting limits actually encourages you to photograph more (you know what you're looking for), and of course, you'll end up with a set of thematically coherent images.

4 Pack smart and light
I'm small and have fallen into the trap of bringing more than I need (or can carry) many, many times. From personal experience, the worst thing is to be traveling with more camera gear than you need. You'll end up with equipment that's too heavy to lug around, but you also feel guilty for not using everything as you flew them halfway across the world for this exact purpose. You end up a mule to your gear, getting tired after half a day on your feet and not enjoying the trip at all.
The trick to packing light is to know what you want to photograph (this is where tips 2 and 3 come into play), so you can then decide which lenses to leave and which to pack. One general-purpose lens (the Canon 24-70mm f/2.8 is great) may be enough for most, but I swear by my fixed 35mm f/1.4. I would recommend not bringing more than two lenses; you'll spend more time screwing them on and off than taking photos.
5 Take your camera everywhere
How many times have you seen a completely amazing composition and kicked yourself because you decided to leave your big camera back in the hotel and make do with your iPhone? Tip 5 derives directly from tip 4, pack only whatever camera gear you can comfortably carry, that way you won't feel it's such a chore to haul it out every day.
Disclaimer, take your camera everywhere, but probably not when you're diving or drinking.
6 Bend your knees
This tip could alternatively be named 'look for unconventional perspectives'.
Our first instinct is to raise the camera to eye level and shoot, this probably works fine most of the time, but you'll be amazed at what a difference some knee-bending does. Suddenly, you're looking at the work from the perspective of a child, or a small animal. But why stop there? Place the camera on the ground, or climb onto a table for a higher perspective. Who says a photo can't be upside down? Or be a photo of a reflection of a painting of another photo? The possibilities are endless, sometimes confusing, but indefinitely satisfying when you can capture something that will give people pause before they figure out what they're looking at.

7 Keep a backup
Just because that camera is new, doesn't mean it won't break. I recommend traveling with a backup camera of some sort, especially if it's a once-in-a-lifetime trip. Your backup doesn't have to be fancy, it can be a lightweight little point-and-shoot or even your mobile phone.
Also, don't discount film. For those who have a lens system that is compatible with the older film bodies within the same brand, I'd recommend tracking down a film body (these are usually inexpensive on eBay). They are a great backup to have as the older bodies usually operate via windup or disposable batteries (no charger cords!) and 35mm film is still relatively easy to buy. You'll have the option of posting the developed rolls (don't risk posting undeveloped negatives as some security scanners can be detrimental) back home, knowing your photos are safe waiting for your return.
8 Number your memory cards
If you have multiple memory cards like me, make your life easier and number them. I recently lost about 5G of HD video on a recent trip to China because I confused my cards and wrote over one I'd already used. Good thing I shoot like a nut and have 30 other gigs to remember the trip by.
If you have the time, back them up! If you're traveling in remote areas, the safest bet is to carry a laptop and an external hard drive. When in a city, an equally good lo-fi option is to take the cards to a camera shop and have them back everything up on two copies on DVD. Post one set back home and keep the other set with you.
9 Have fun!
I believe travel photography should always be more about 'travel' than 'photography'. I think it's a little too much pressure to set out on a trip with the mission of taking good photos rather than having great experiences. Photos capture what's in front of the camera, but also reflect whoever is behind the camera.
Do your homework before you leave, and let loose when you're there. When you are confident with your equipment, it means less time eyeing the menu screen and more time eyeing your surroundings.
10 Edit, edit, edit
Ever had a friend show you their three-hour-long travel slideshow which invariably has 20 shots of the same mountain top? Please, don't put someone else through that.
Taking the photo is only half the process; being selective with what you show at the end is difficult, but is essential to improving your photography. Like any form of learning, review and critique is key. Plus, once you isolate the good shots (for me, usually about 10-20 % of a shoot) and imagine the rest never happened, you'll feel like a king.
Tip 3 (shooting with a brief in mind) applies to editing as well. If you consider what you're editing for, your selection will be better and a natural narrative will emerge. Editing a series to show your mum will be different to editing a series for a potential photo buyer.
The right software can go a long way to making a tiring process easier – I highly recommend Lightroom. It's easy to use and its cataloging system is incomparable when it comes to working with a large number of files.
Related articles
Simple and flexible travel insurance
You can buy at home or while traveling, and claim online from anywhere in the world. With 150+ adventure activities covered and 24/7 emergency assistance.
Get a quote
3 Comments
I'm a professional- part time and I think you covered the important information. The last is key.
Thanks.
Thanks for this post. I highly recommend utilizing the Cloud (iCloud / Google Drive / Dropbox) to back up your photos and videos during your travels (if your Wi-Fi permits). Backing up to your external storage is insufficient because if it breaks down (mechanical hard drives are unreliable) or is stolen from your accommodation, along with your laptop and SD cards, you would lose everything.
A cloud backup is safe and sound no matter what happens to your local backups that you carry with you. If you can't find decent Wi-Fi to back up with, it might even be worth to invest in a 4G SIM card just for the purpose of backing up your media.
You are so right about packing light with lenses (as well as clothing.) I have missed some once-in-a-lifetime photos while unscrewing and attaching different lenses!